Requirement Yogi offers various ways to create requirements. If you prefer tutorial videos, watch the first tutorial:
The Requirement Yogi Macros
Requirement Yogi has two main macros:
-
Requirement Yogi macro: Use this macro to define a requirement. This macro can be in a table, or in plain text.
-
Requirement Yogi Link: Use this macro as a link to the original requirement and/or to create dependencies between requirements. You can link requirements across spaces or variants, they will have a small asterisk to let you know it points somewhere other than the current space or variant. Read more information on the dependencies.
Other macros:
-
RY Report: display a saved traceability matrix in a Confluence page.
-
RY Configuration: Let’s you configure requirements and properties in tables, or in paragraphs and linear docs.
-
NEW RY Calculation: This dynamic macro will let you add calculations on your pages → from simple sums to complicated calculations on your requirement’s details.
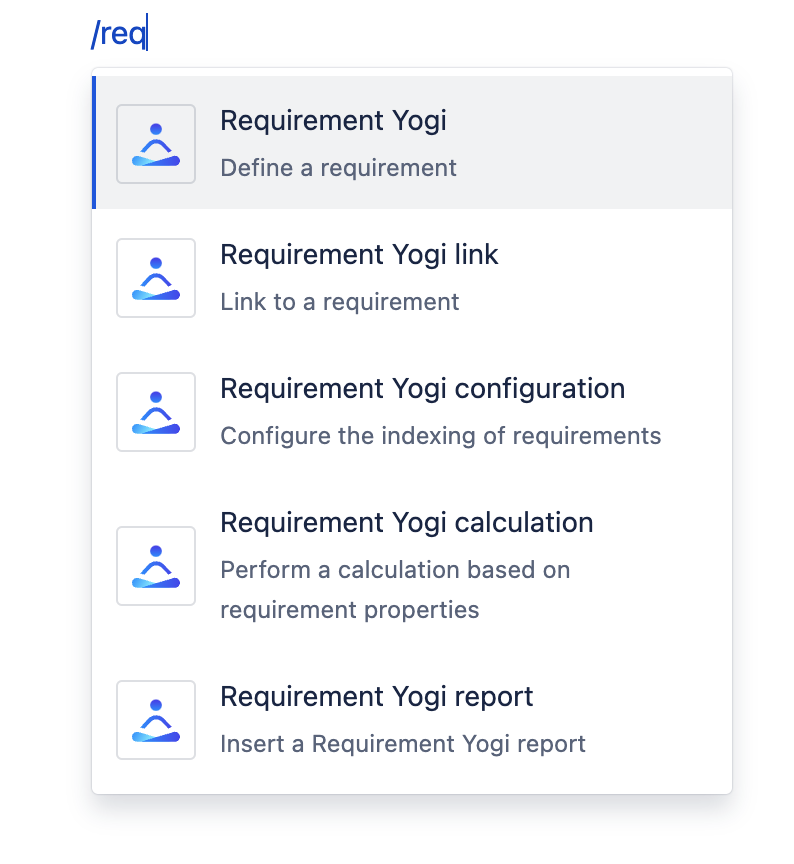
Insert a Definition macro
To a add a requirement macro, simply type '/requirementyogi' in the Confluence editor:
The key must be unique in the space and identifies your current requirement. This will be useful when you need to reference this requirement across your documentation.
We give suggestions based on the already created requirements in the page.
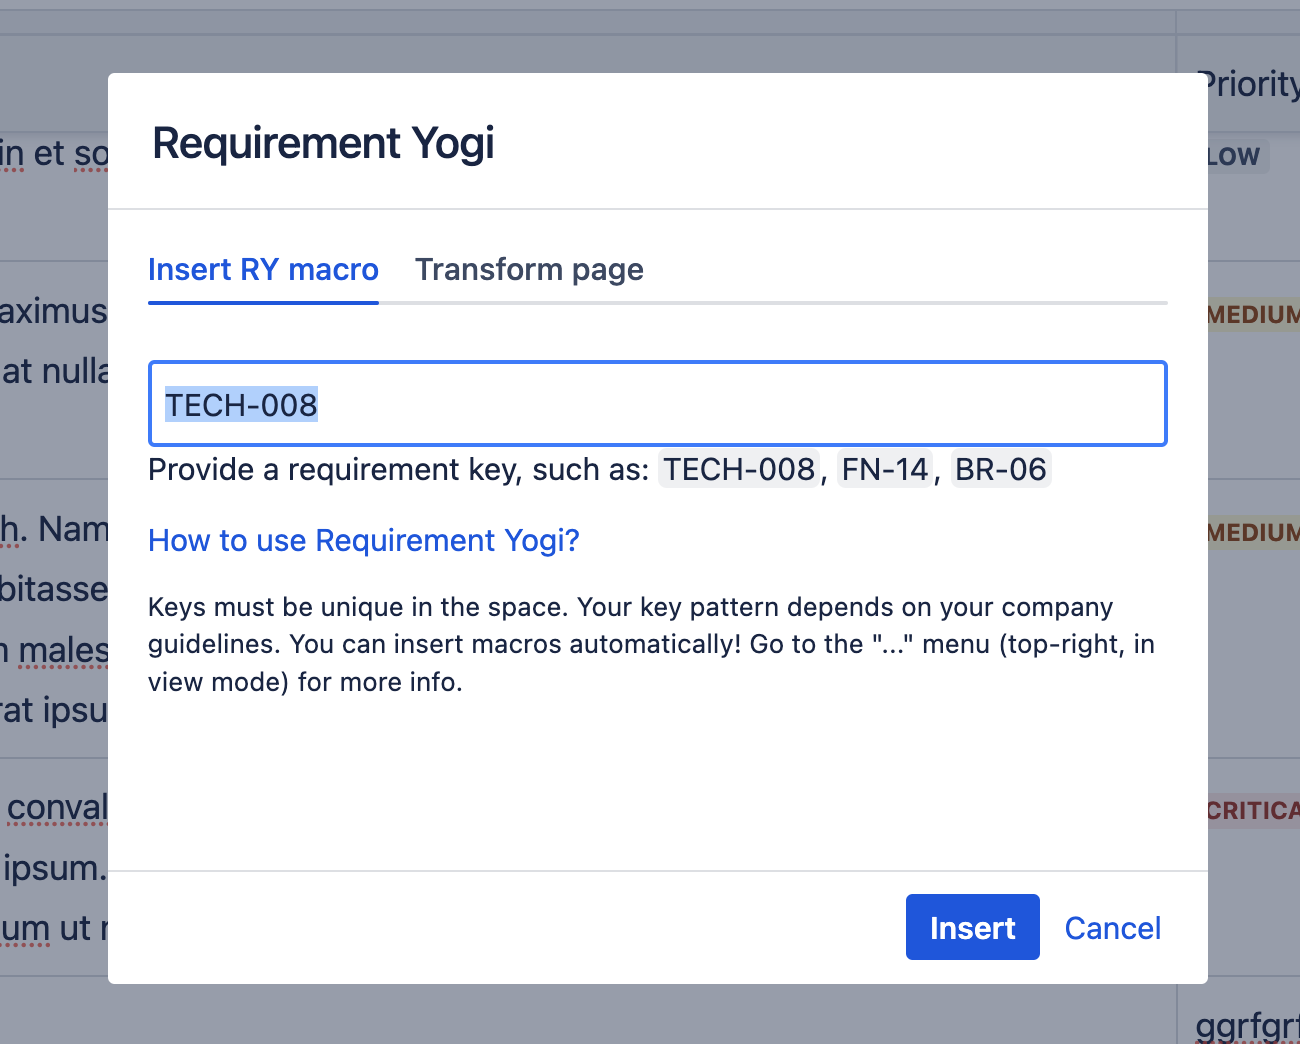
Tips
When adding a requirement, you can also navigate with the arrows on your keyboard to go to the correct suggestion, and press enter to insert.
To get the most out of Requirement Yogi, you should use a specific format for your pages:
-
Your page should contain tables,
-
One column, preferably the first, should contain the requirement keys,
-
The other columns are the description, the properties and the dependencies.
You can also have requirements defined in paragraphs or headings, in which case the requirement properties will be defined by the following text (See Configuring requirement properties).
Requirement Yogi Link macros that can be inserted anywhere in the page.
Adding a requirement link
-
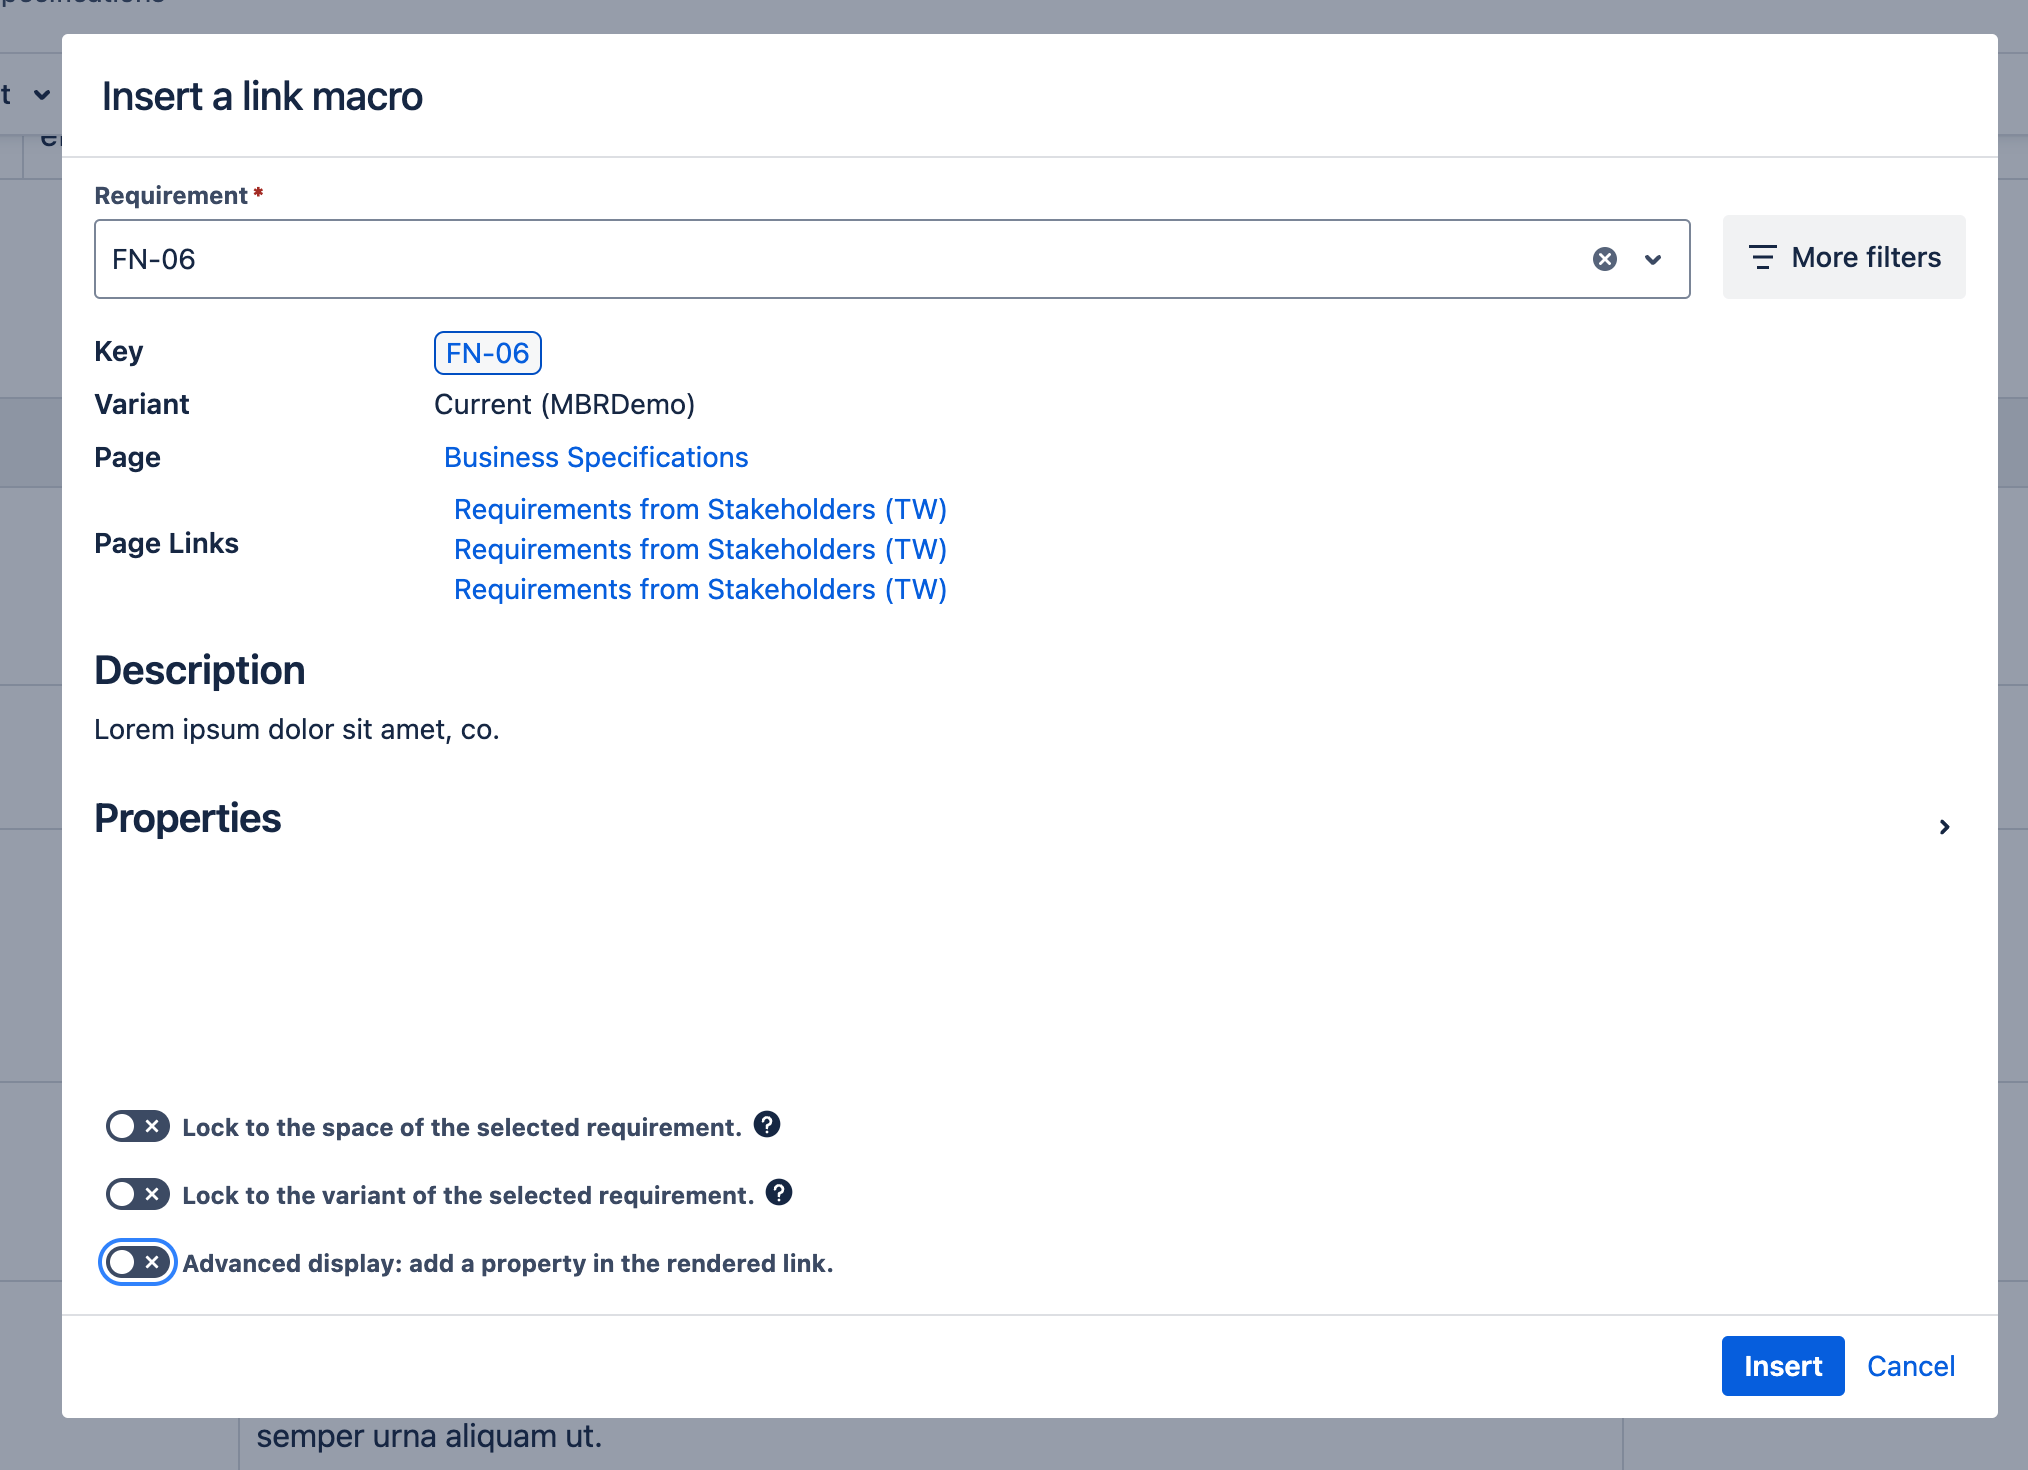
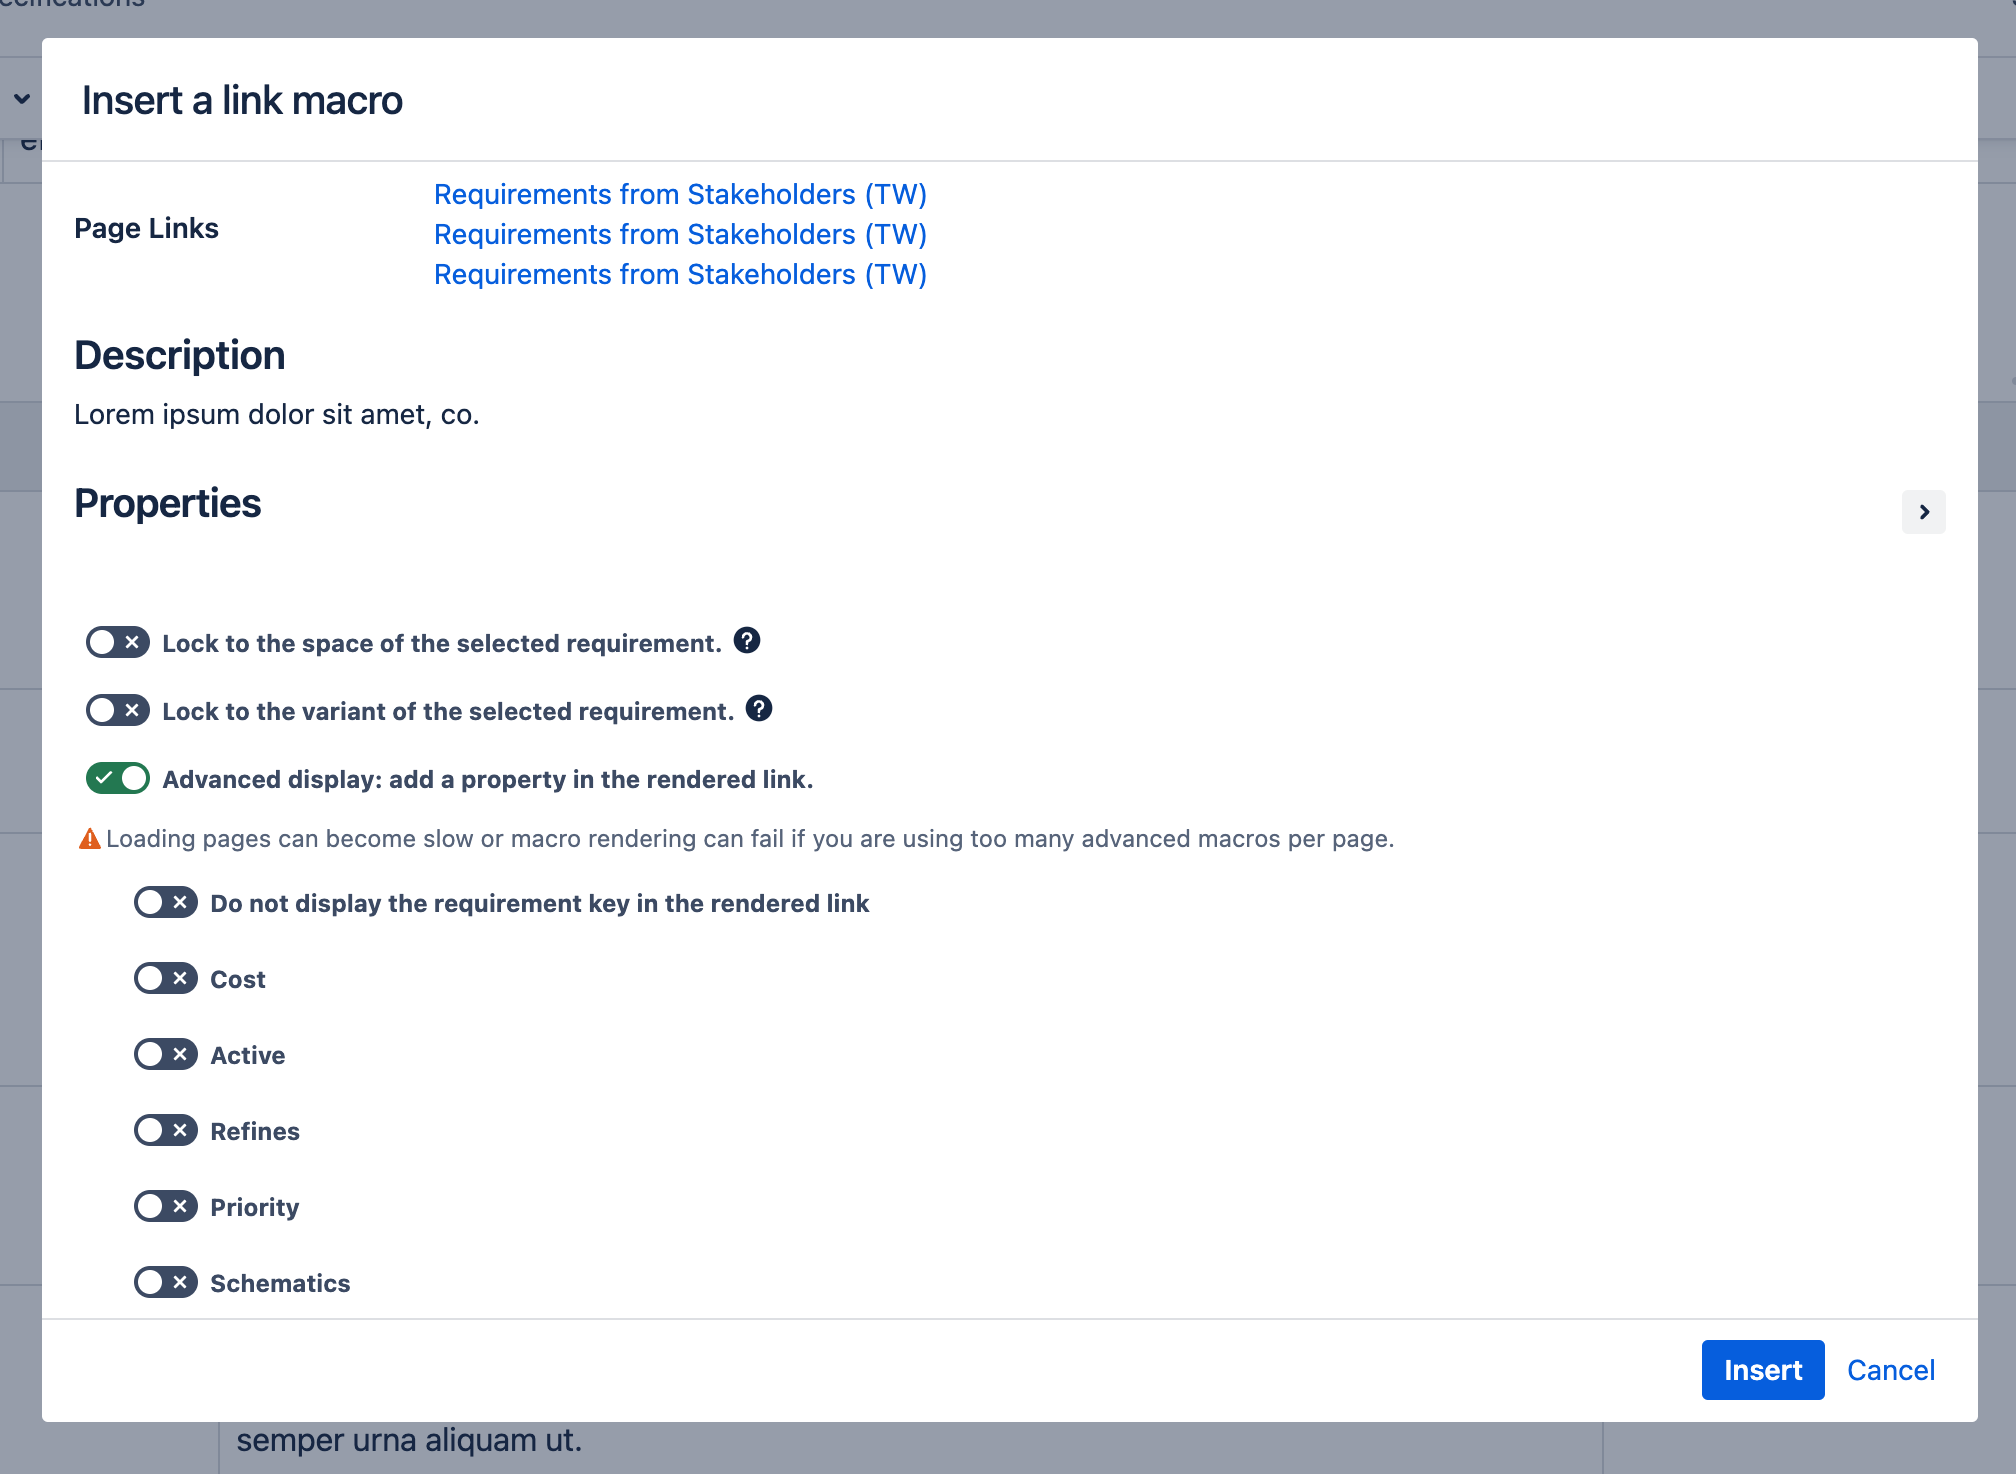
In a confluence page, add the requirement link macro to create a link.
-
In your requirement’s definition table, add the requirement link macro in a column to create a dependency (Read the documentation)

|
|
|
Inserting requirements in bulk
You can use Requirement Yogi to transform a page and automatically create Requirement Yogi macros.
This is especially helpful when you want to copy paste an existing document into Confluence and easily create requirements.
What your requirement looks like
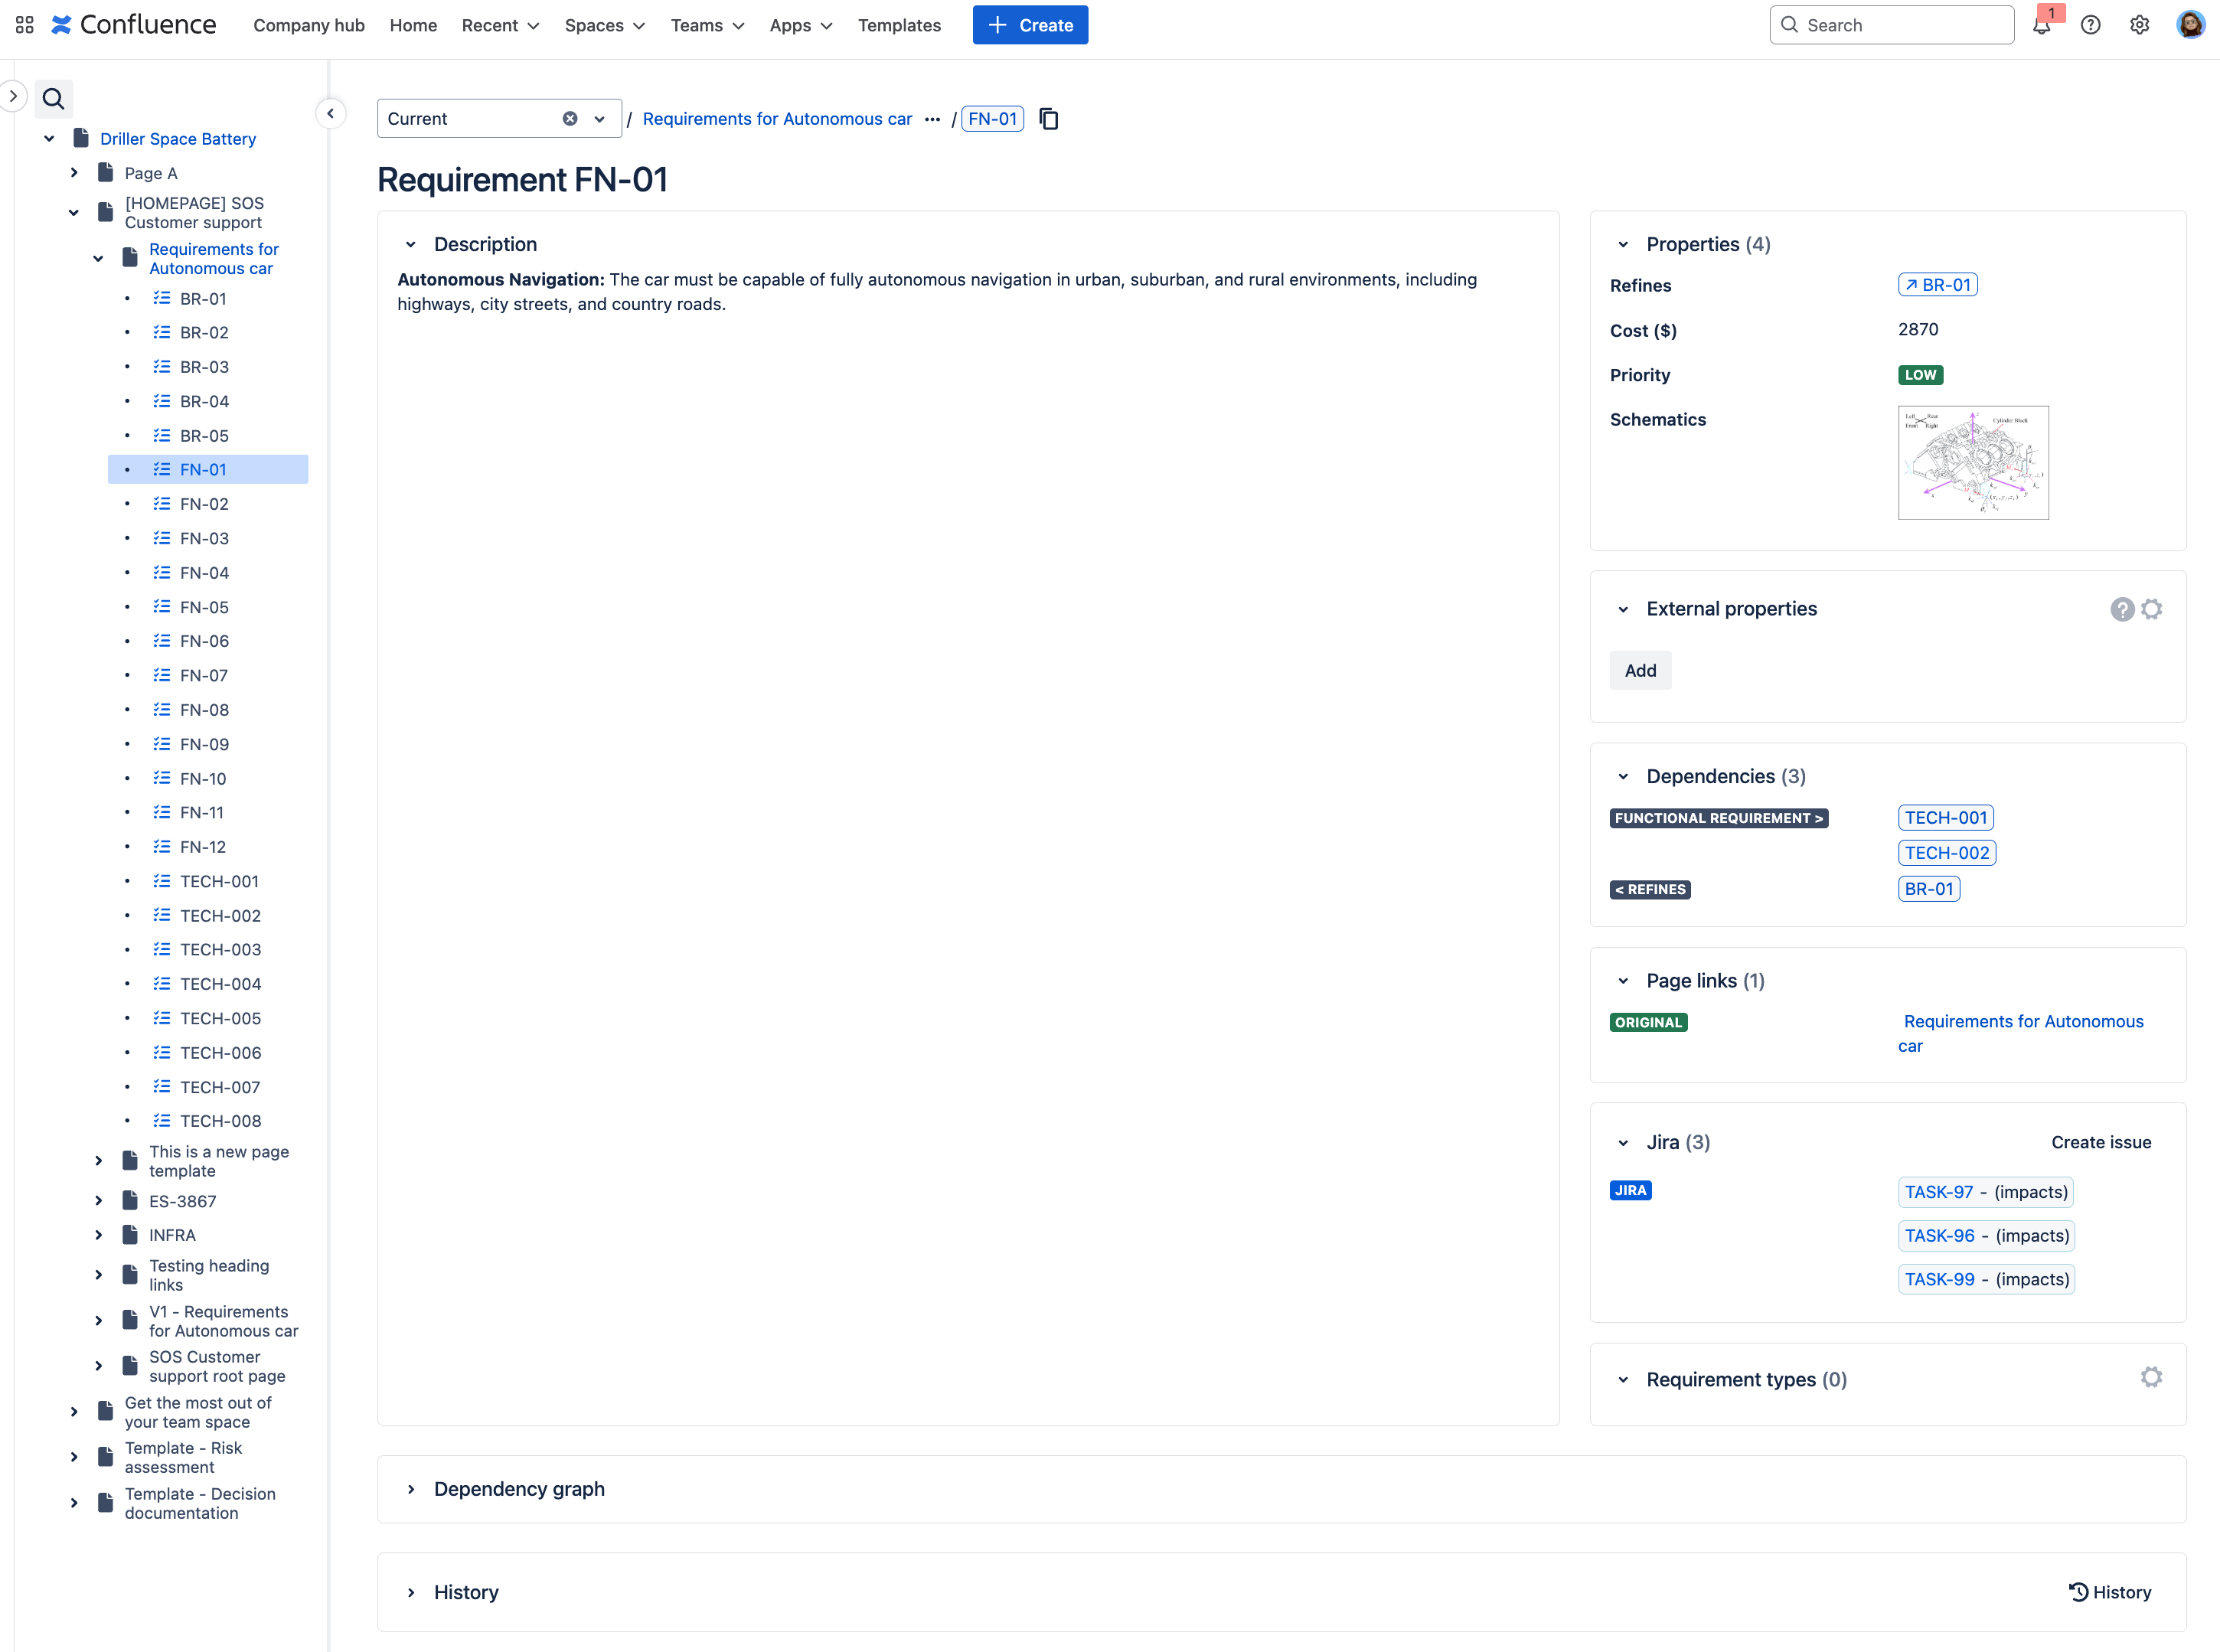
When you have written your requirements, click on it!
-
You’ll see each of its properties, dependencies, external properties and Jira Links.
-
Thanks to our treeview, you’ll be able to navigate easily across your requirements and pages
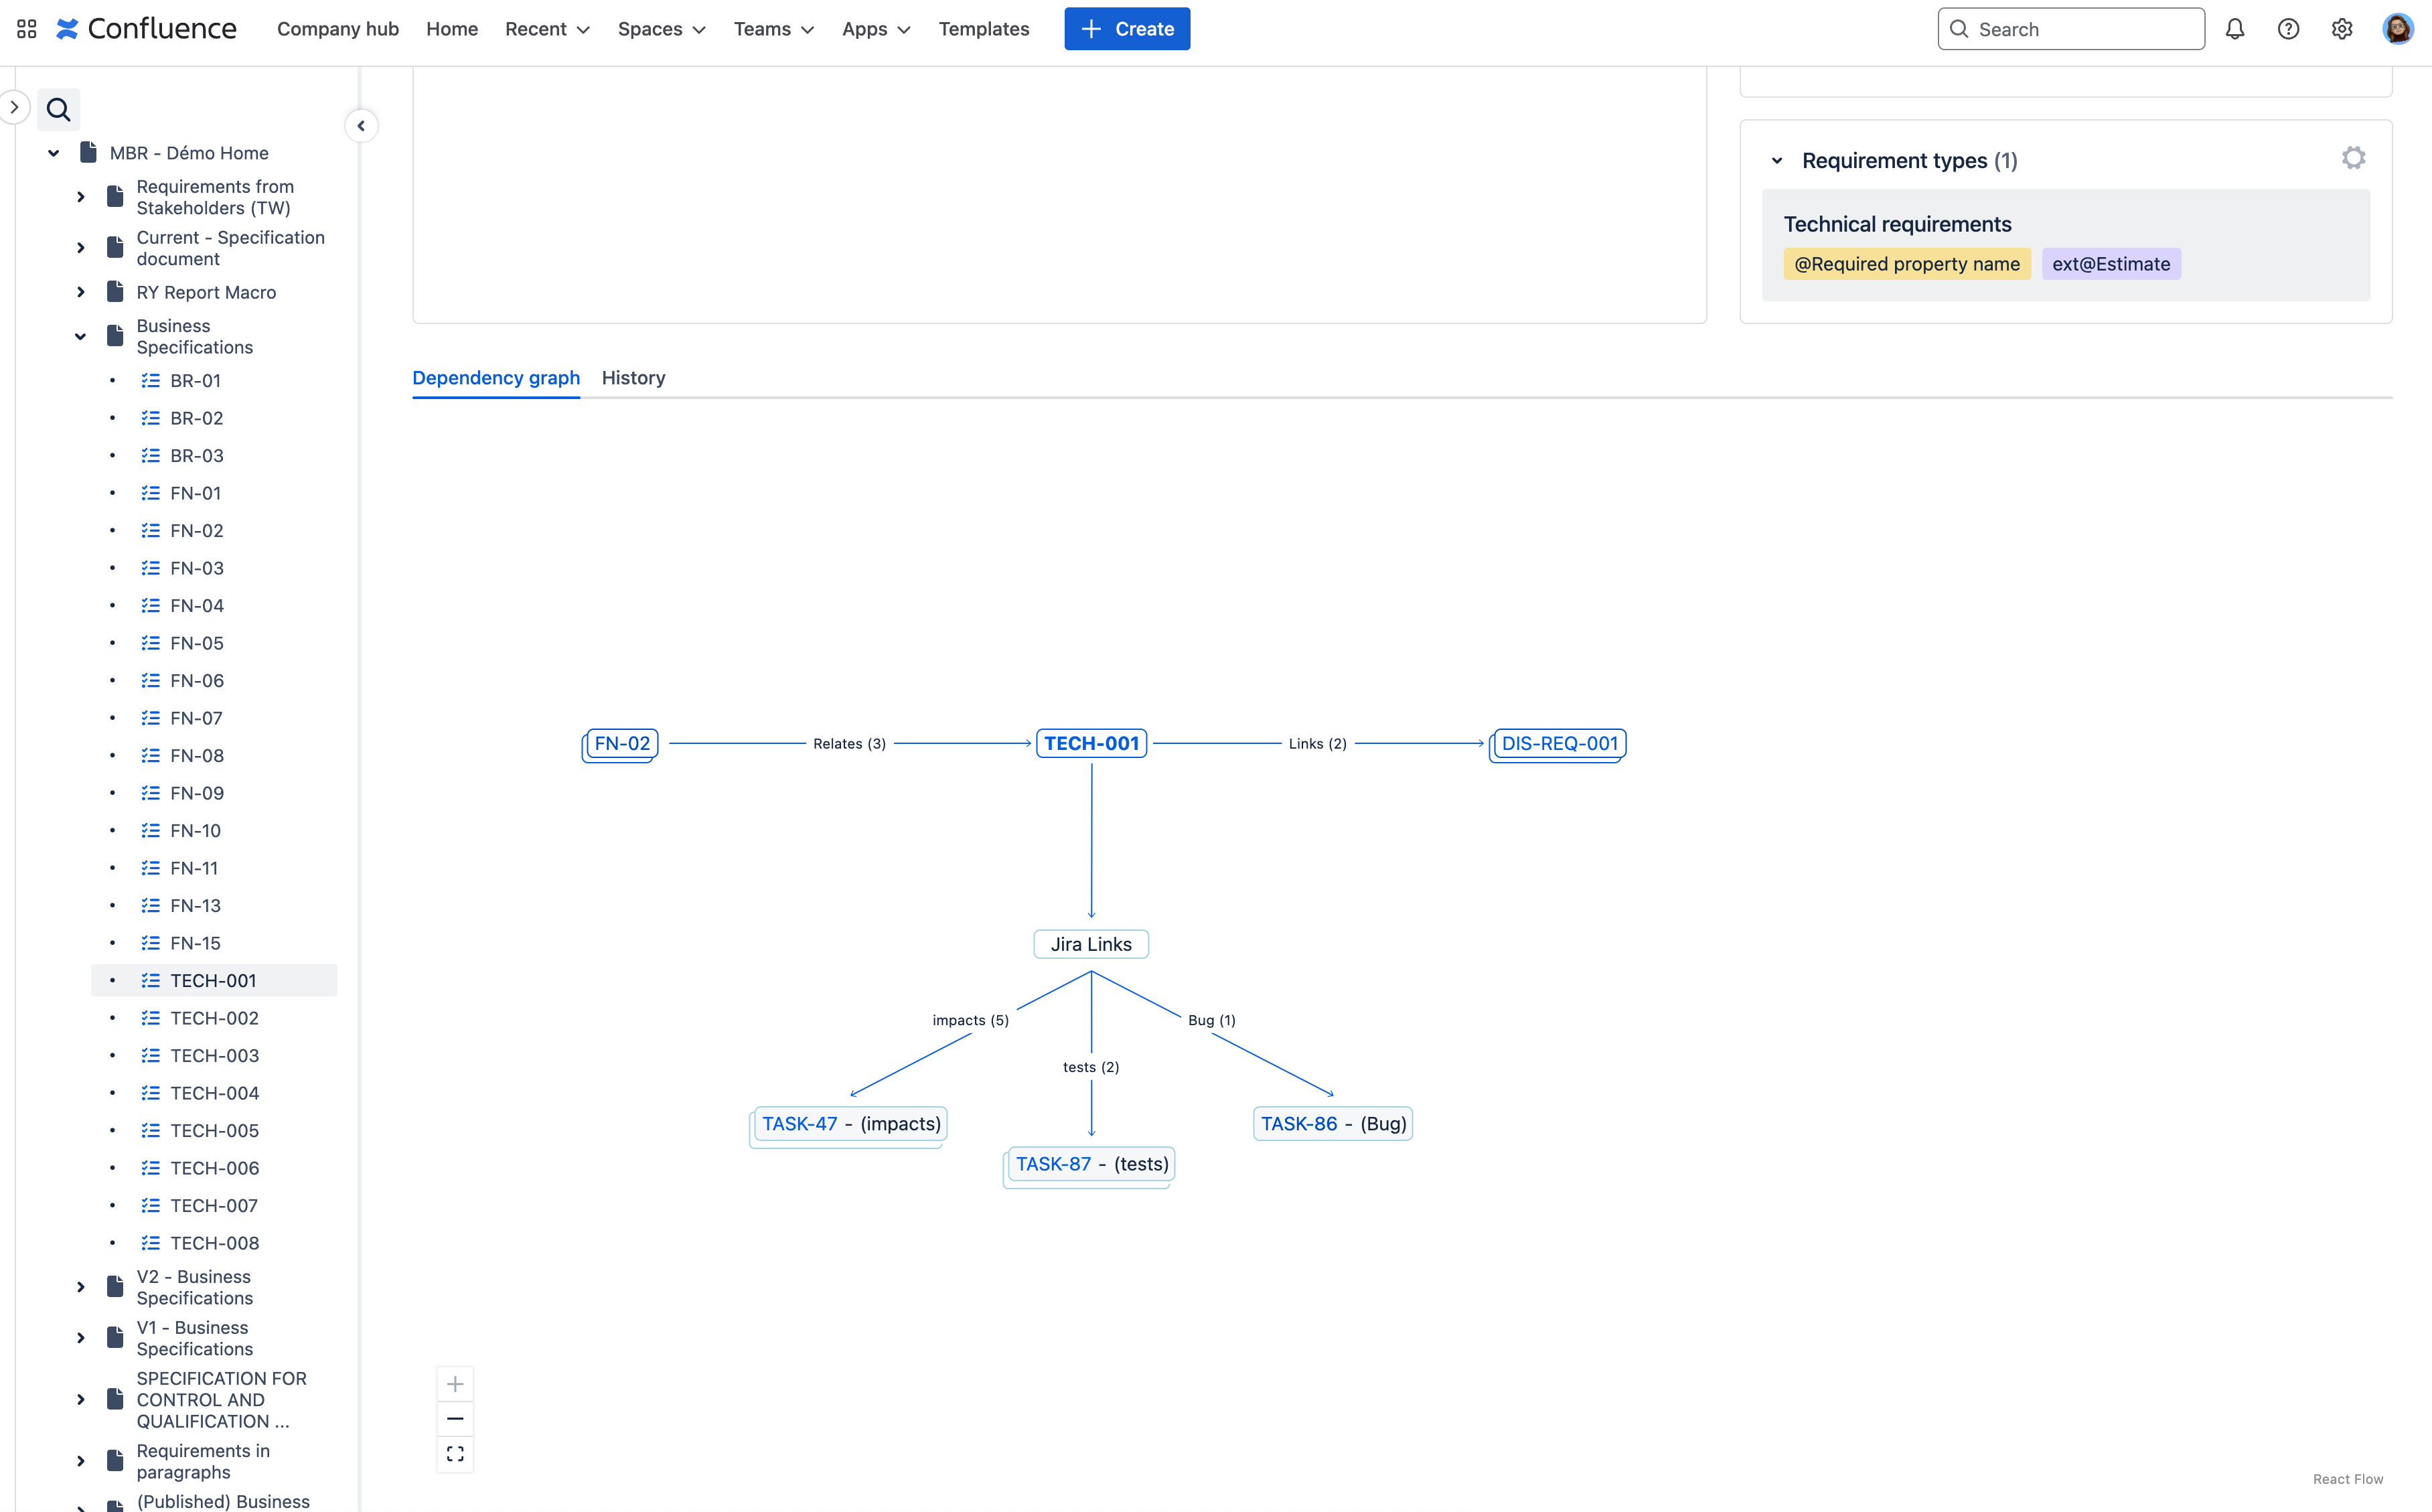
The Dependency Graph will also let you get a clear picture of your requirement’s child and parents, and ease your navigation.
Generate requirements in a demo space
It is possible to create a demo space with new requirements for you to play with entirely.
-
As an administrator, go in the Confluence administration > Requirement Yogi > Installation Checklist > Create a demo space
