
Access the app
After updating the Requirement Yogi for Jira app, you’ll be able to see the Requirement Yogi tab in your Jira projects.
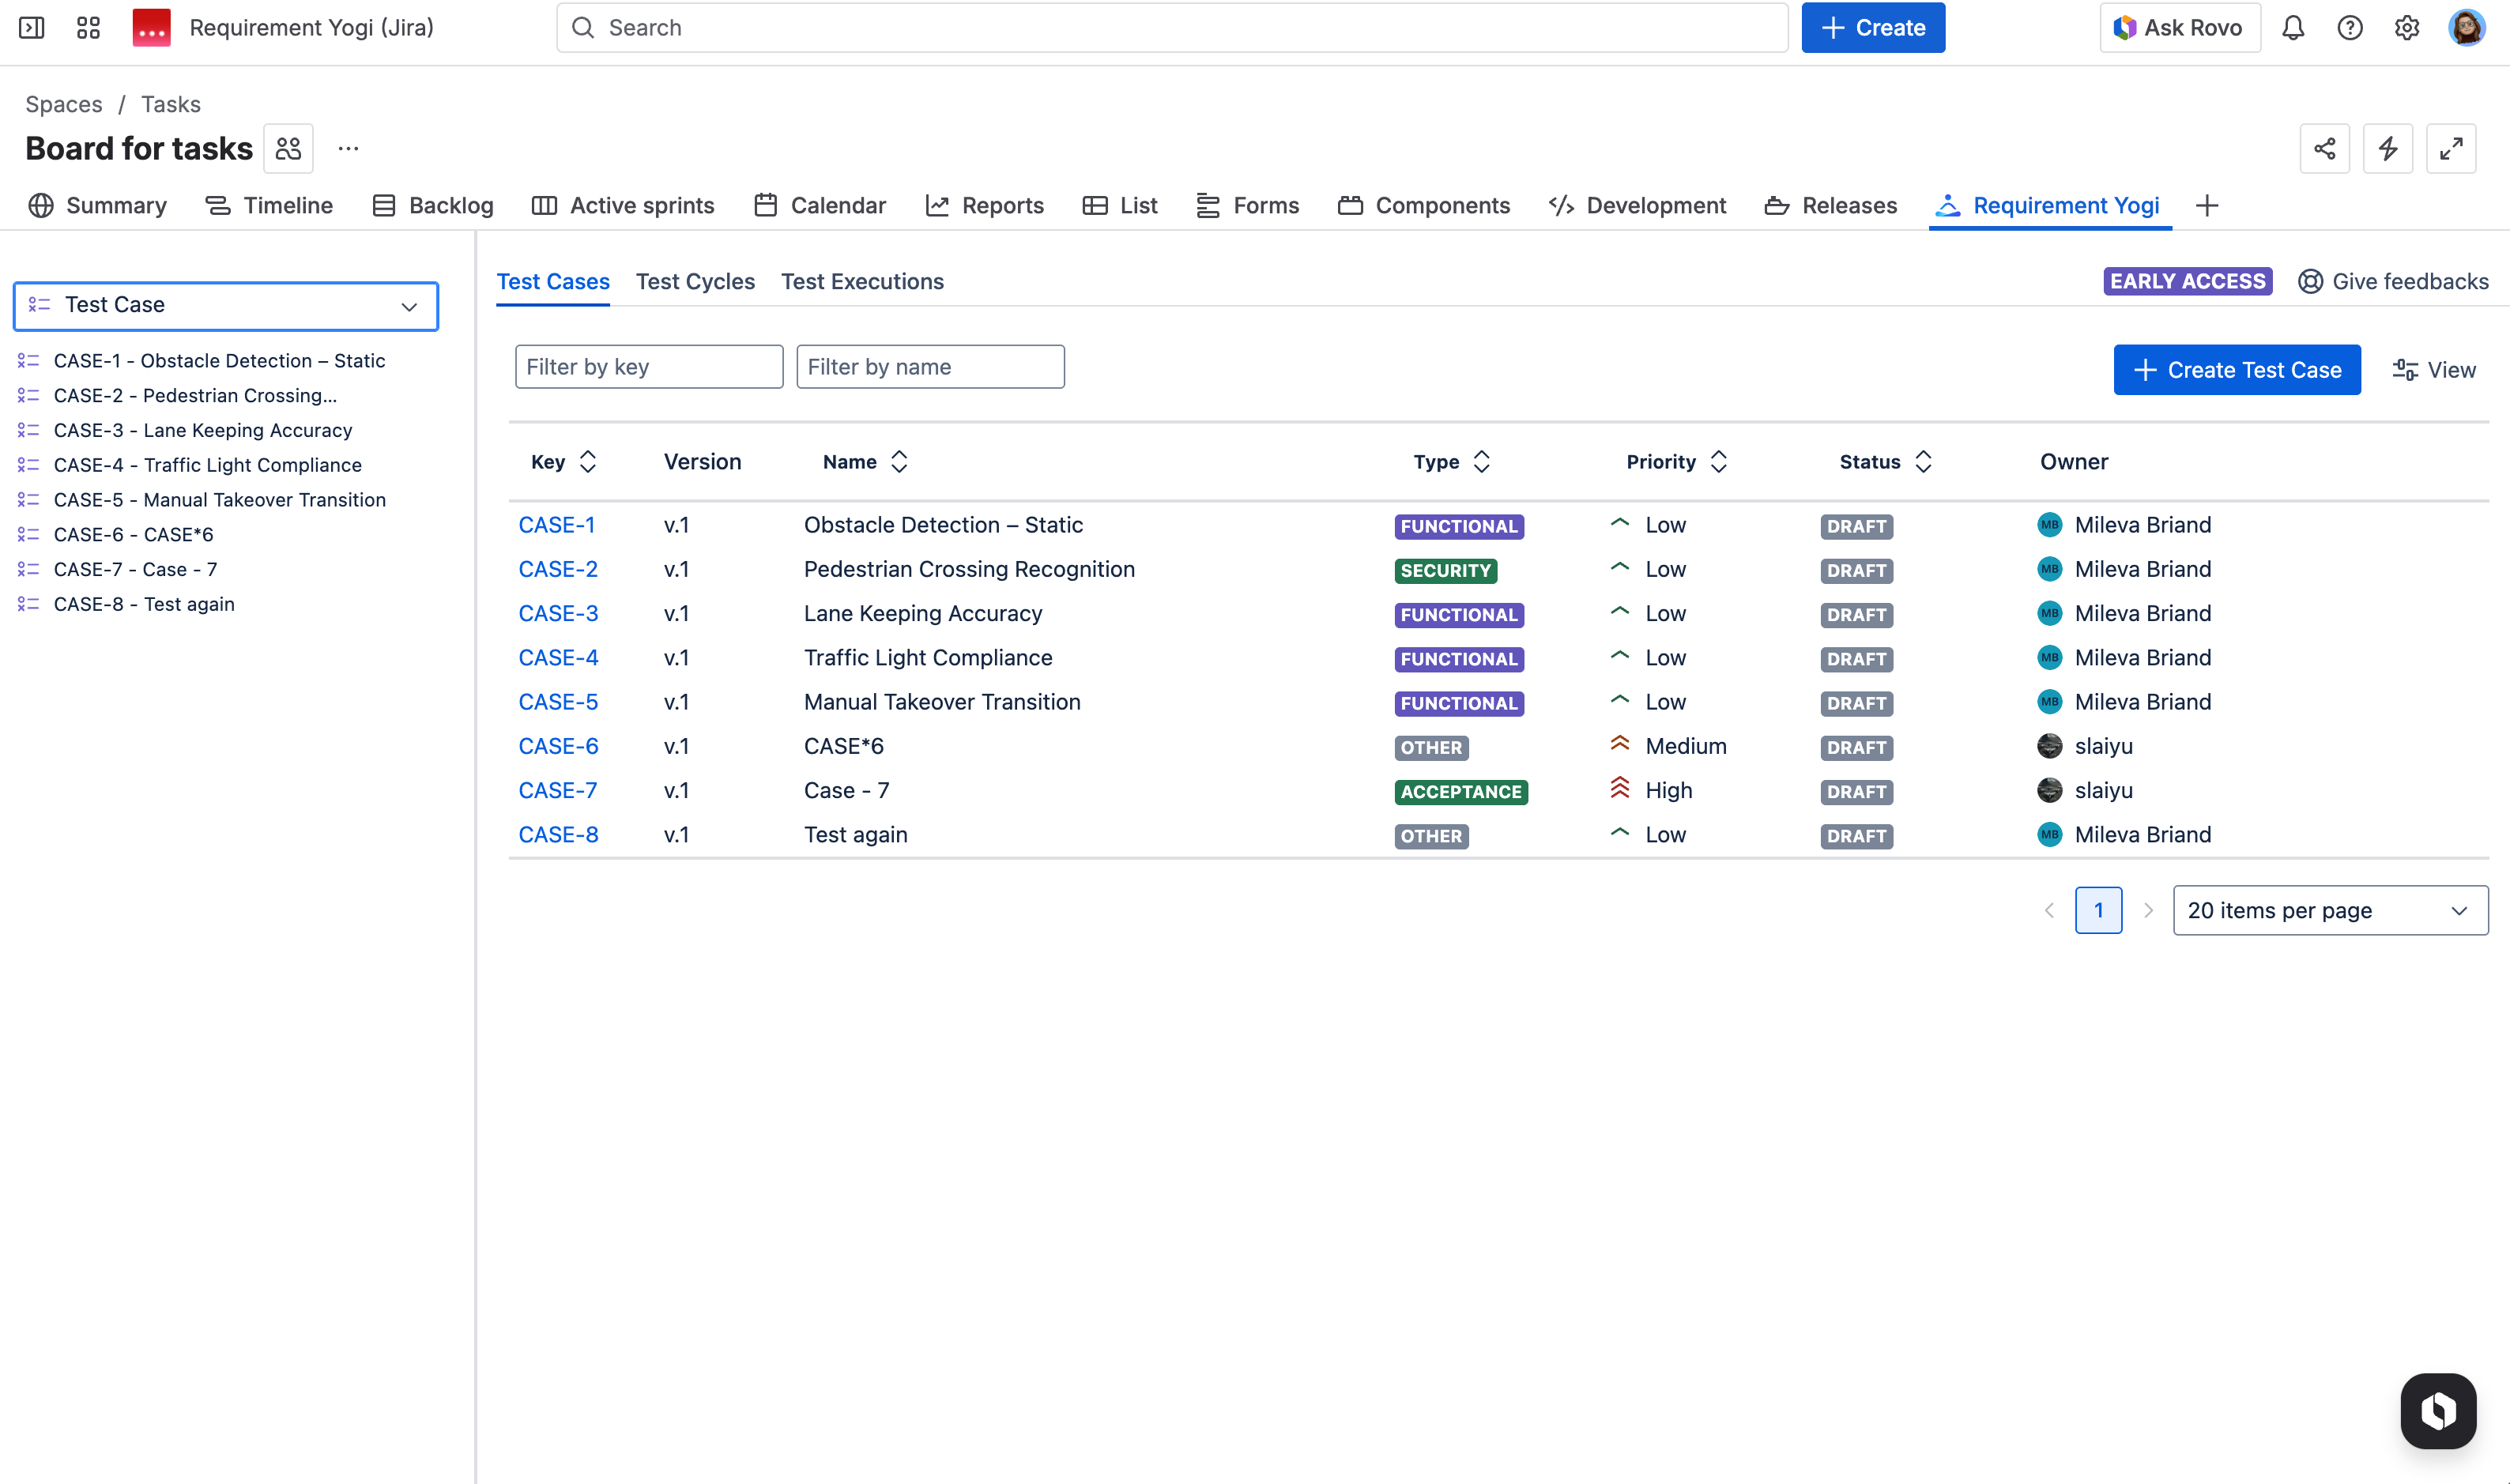
Create test cases
When opening the ‘Requirement Yogi’ tab, you are able to see your test cases in a list, and create ones with the ‘+ Create Test Case’ button on the right.
-
You can give it a name,
-
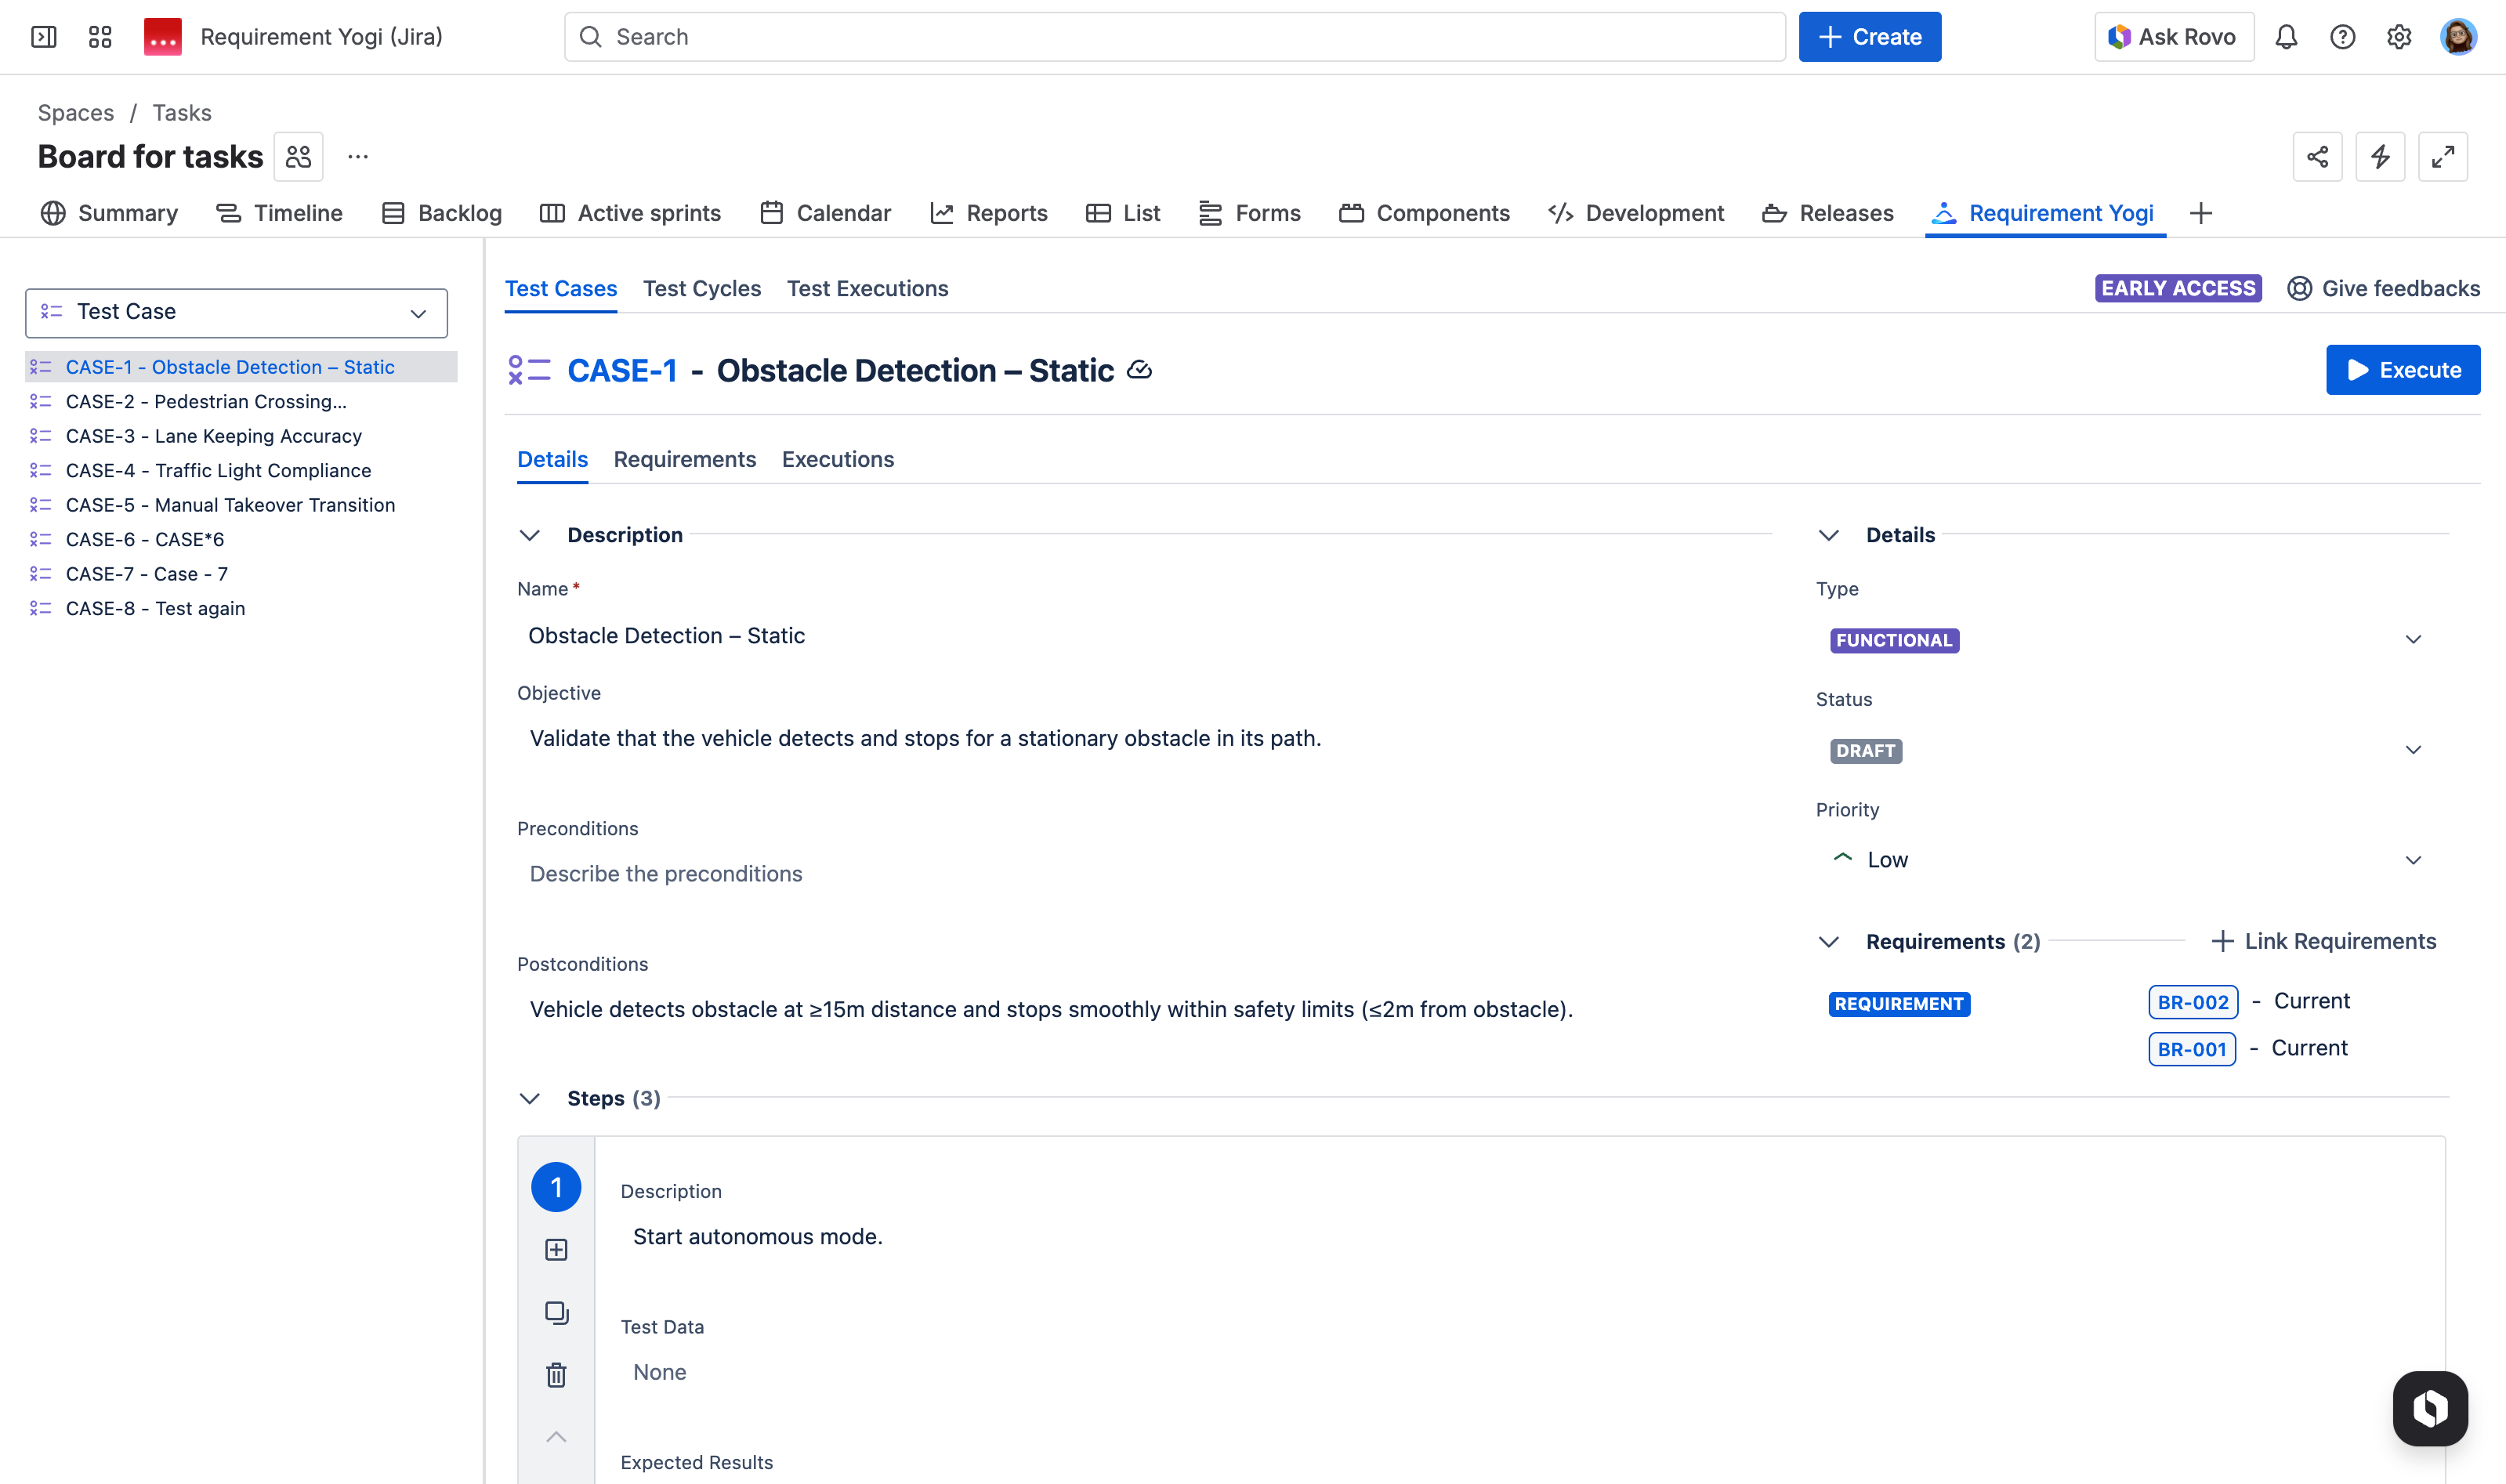
Add a type
-
Add an objective, preconditions, postconditions
-
Give a status and a priority
-
Add steps
|
Once a test case is created, you can click on its key and create the steps with a description, specific test data and expected results. |
|
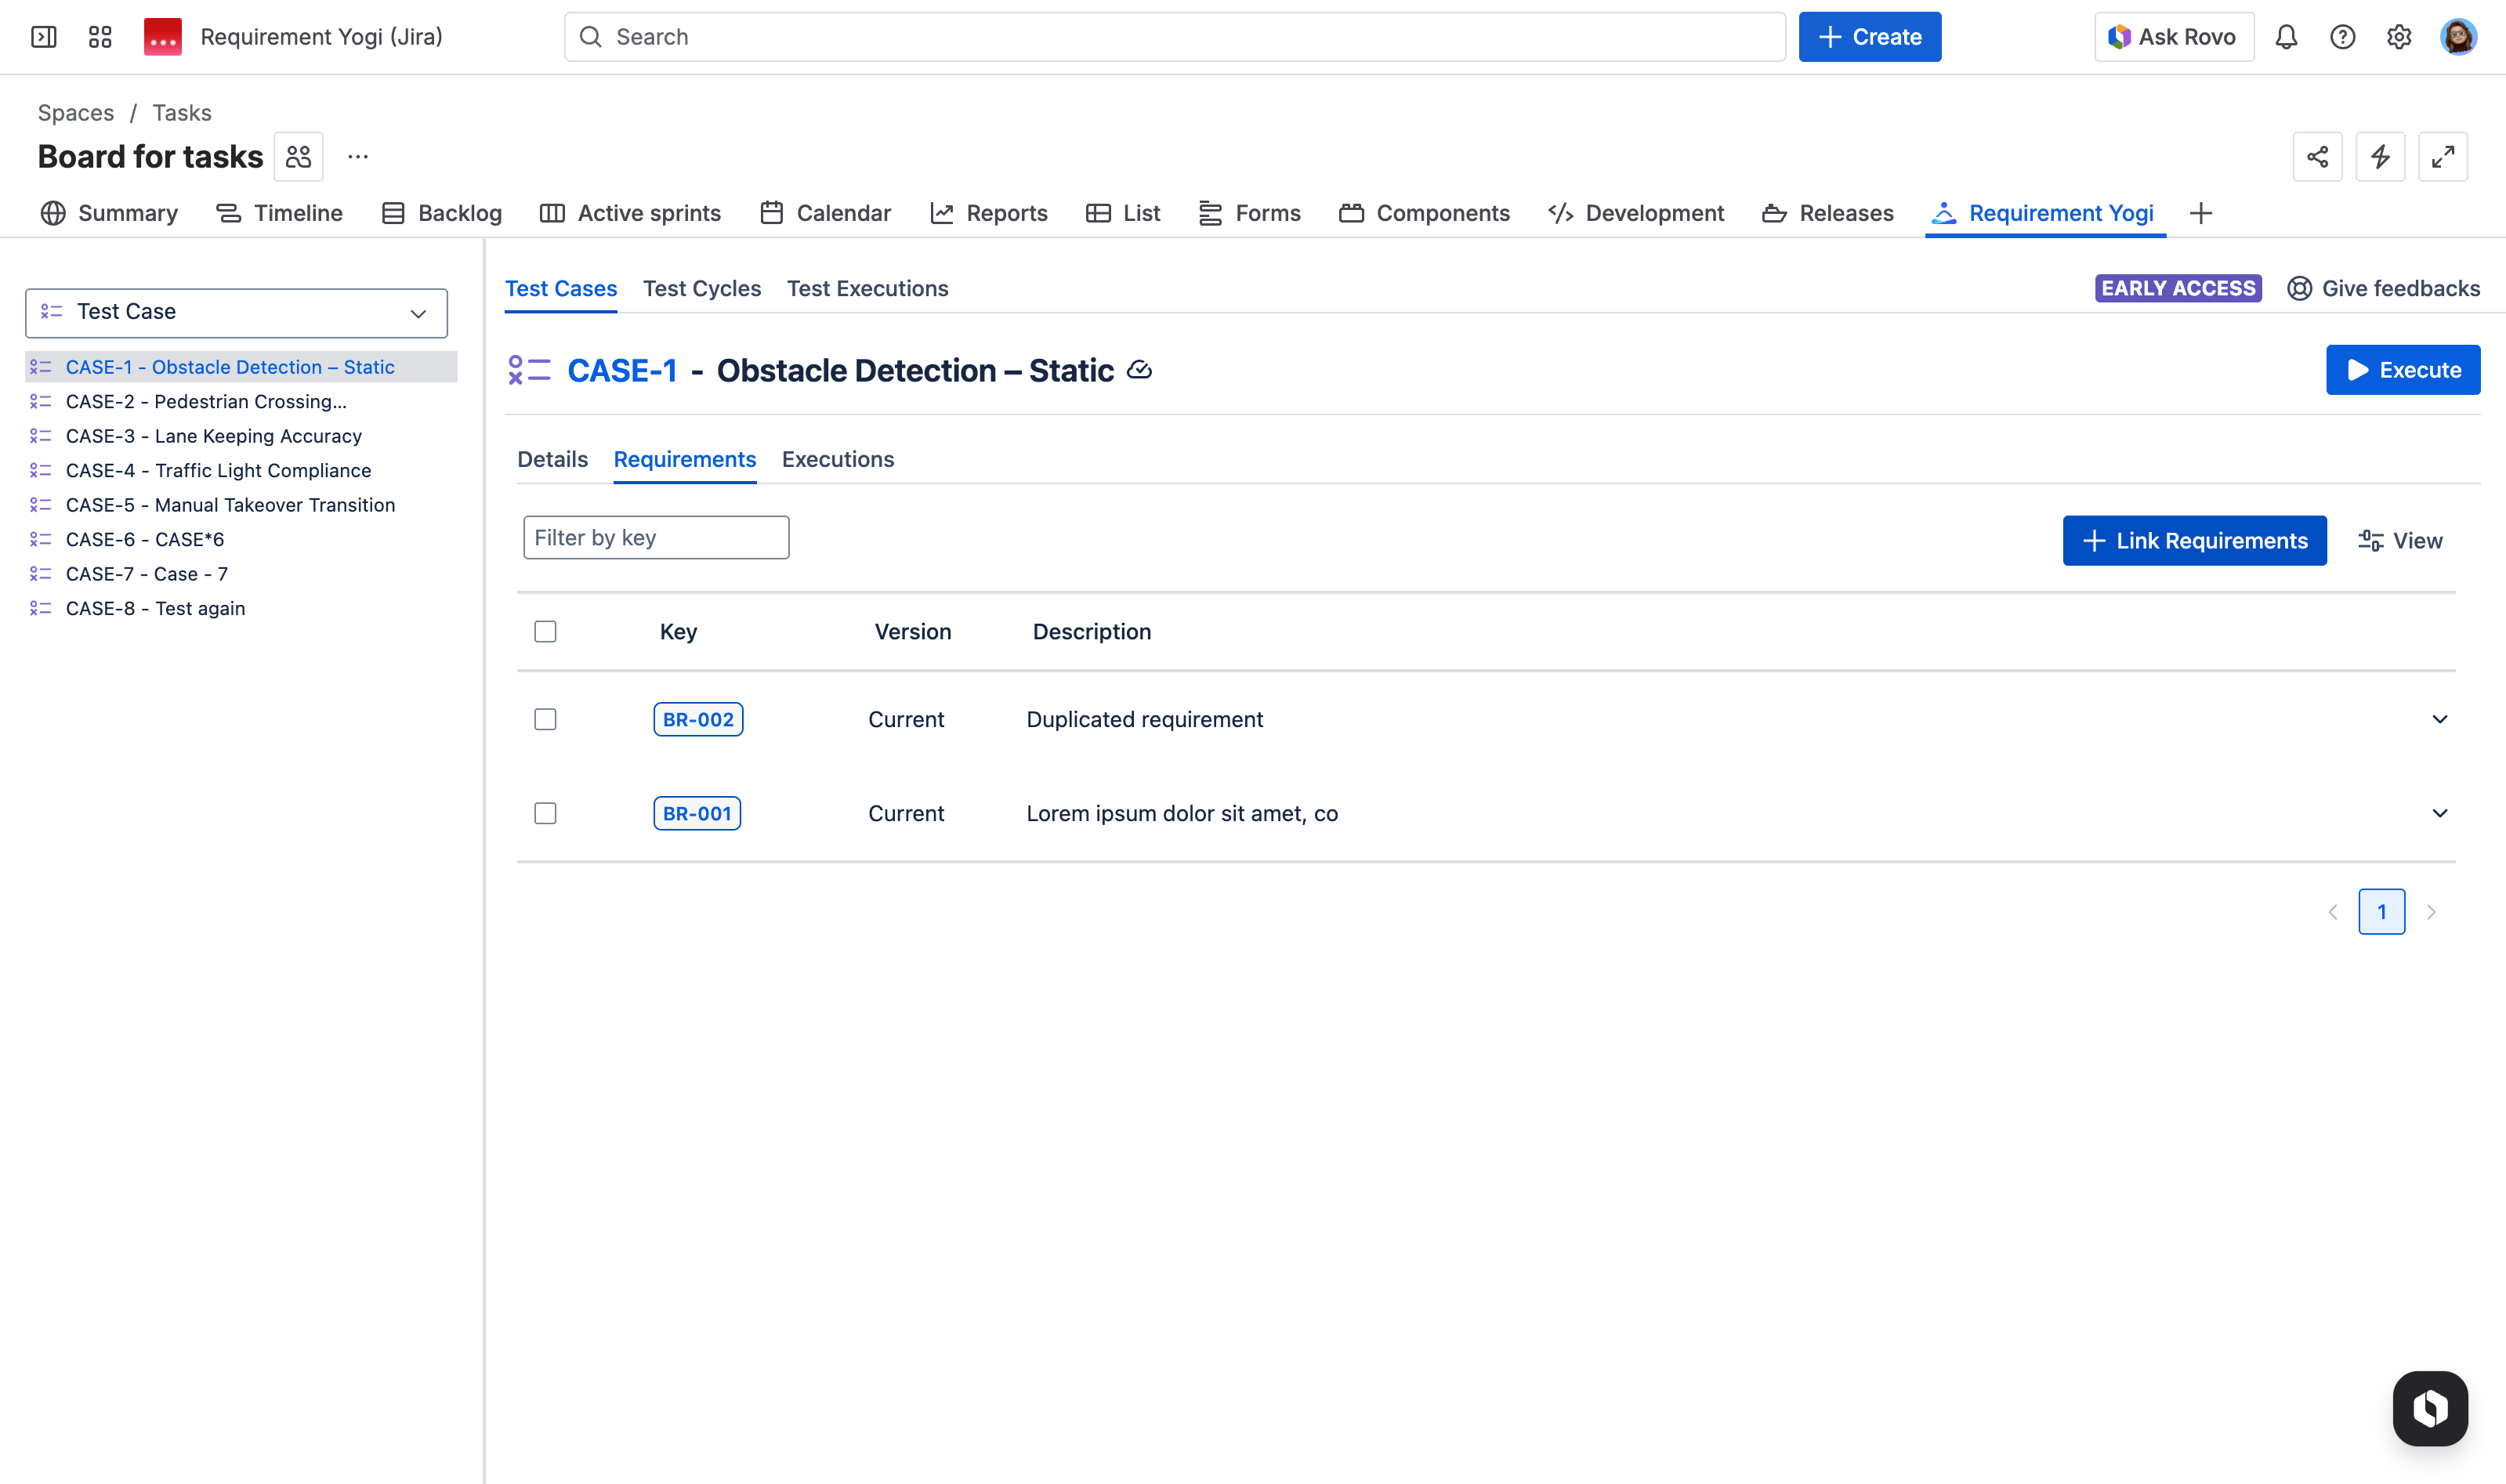
Link a requirement to a test case
If you want to see linked requirements, you can go see them on the right side. Or go to the tab ‘Requirements’.
|
|
|
|
Execute a test
|
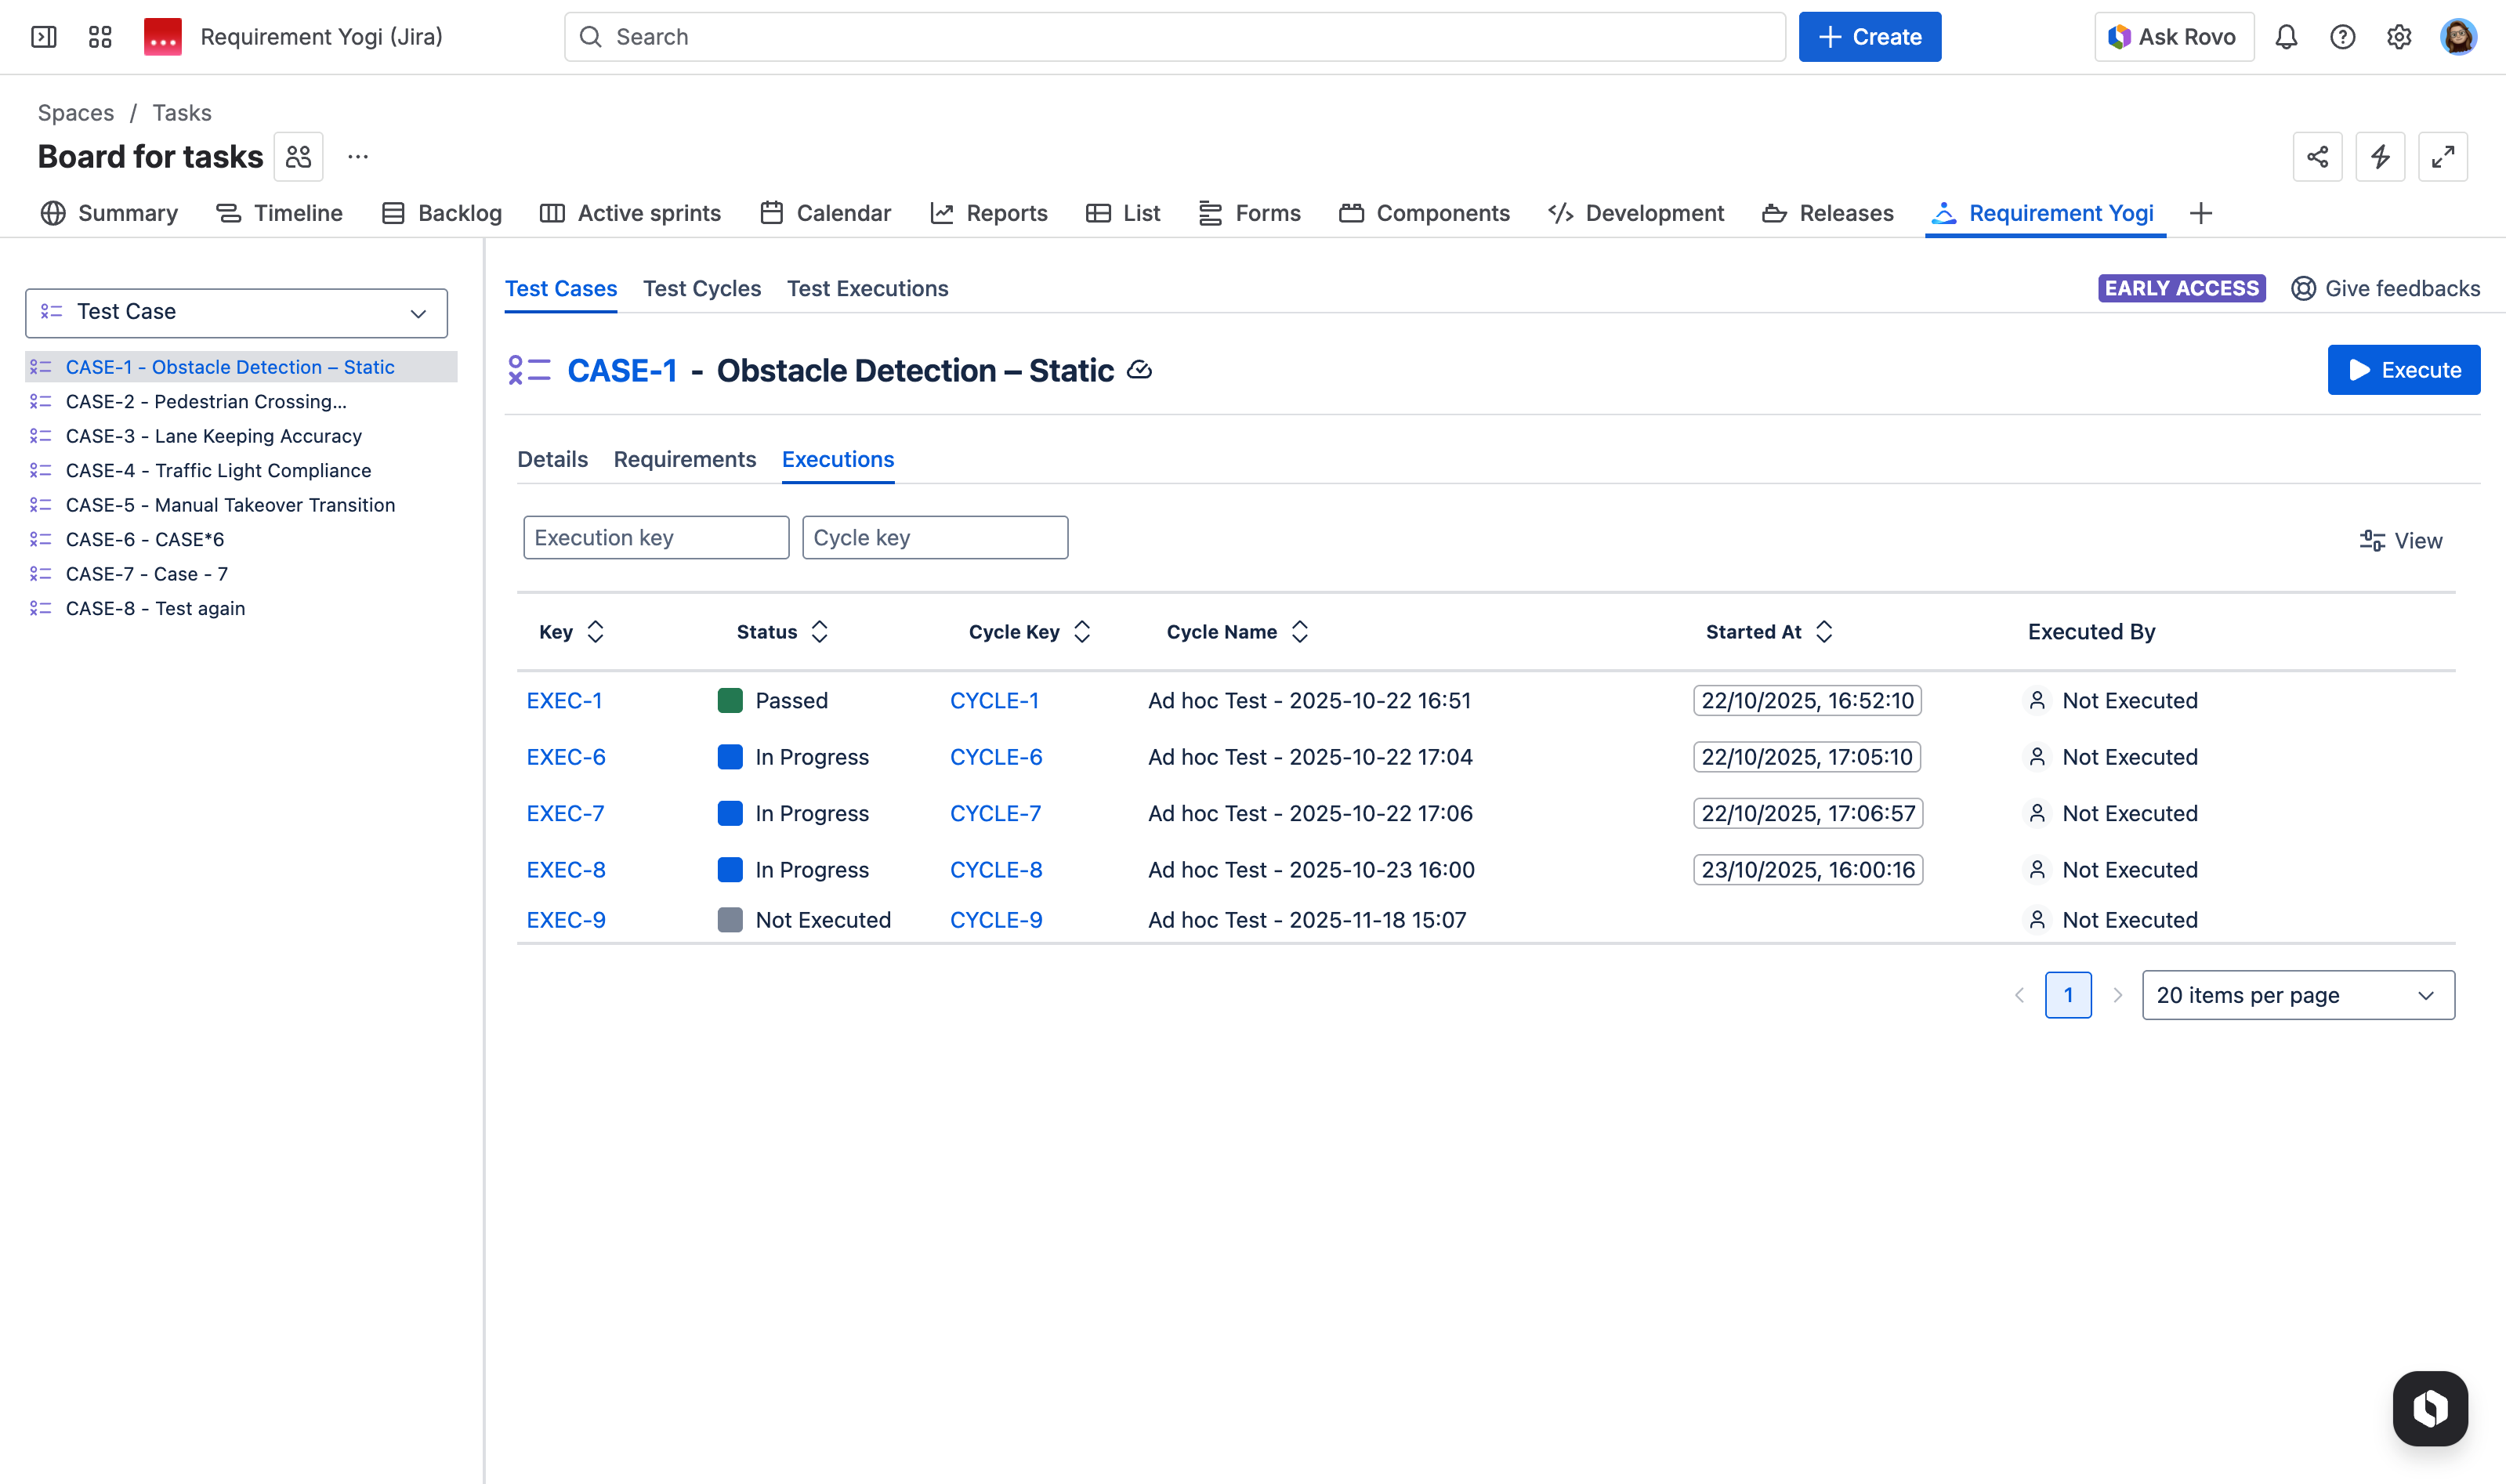
If you want to see the test execution of a single test case, go to the tab ‘Execution’ |
|
|
To execute a test you can click on the ▶️ button on the top right:
|

|
|
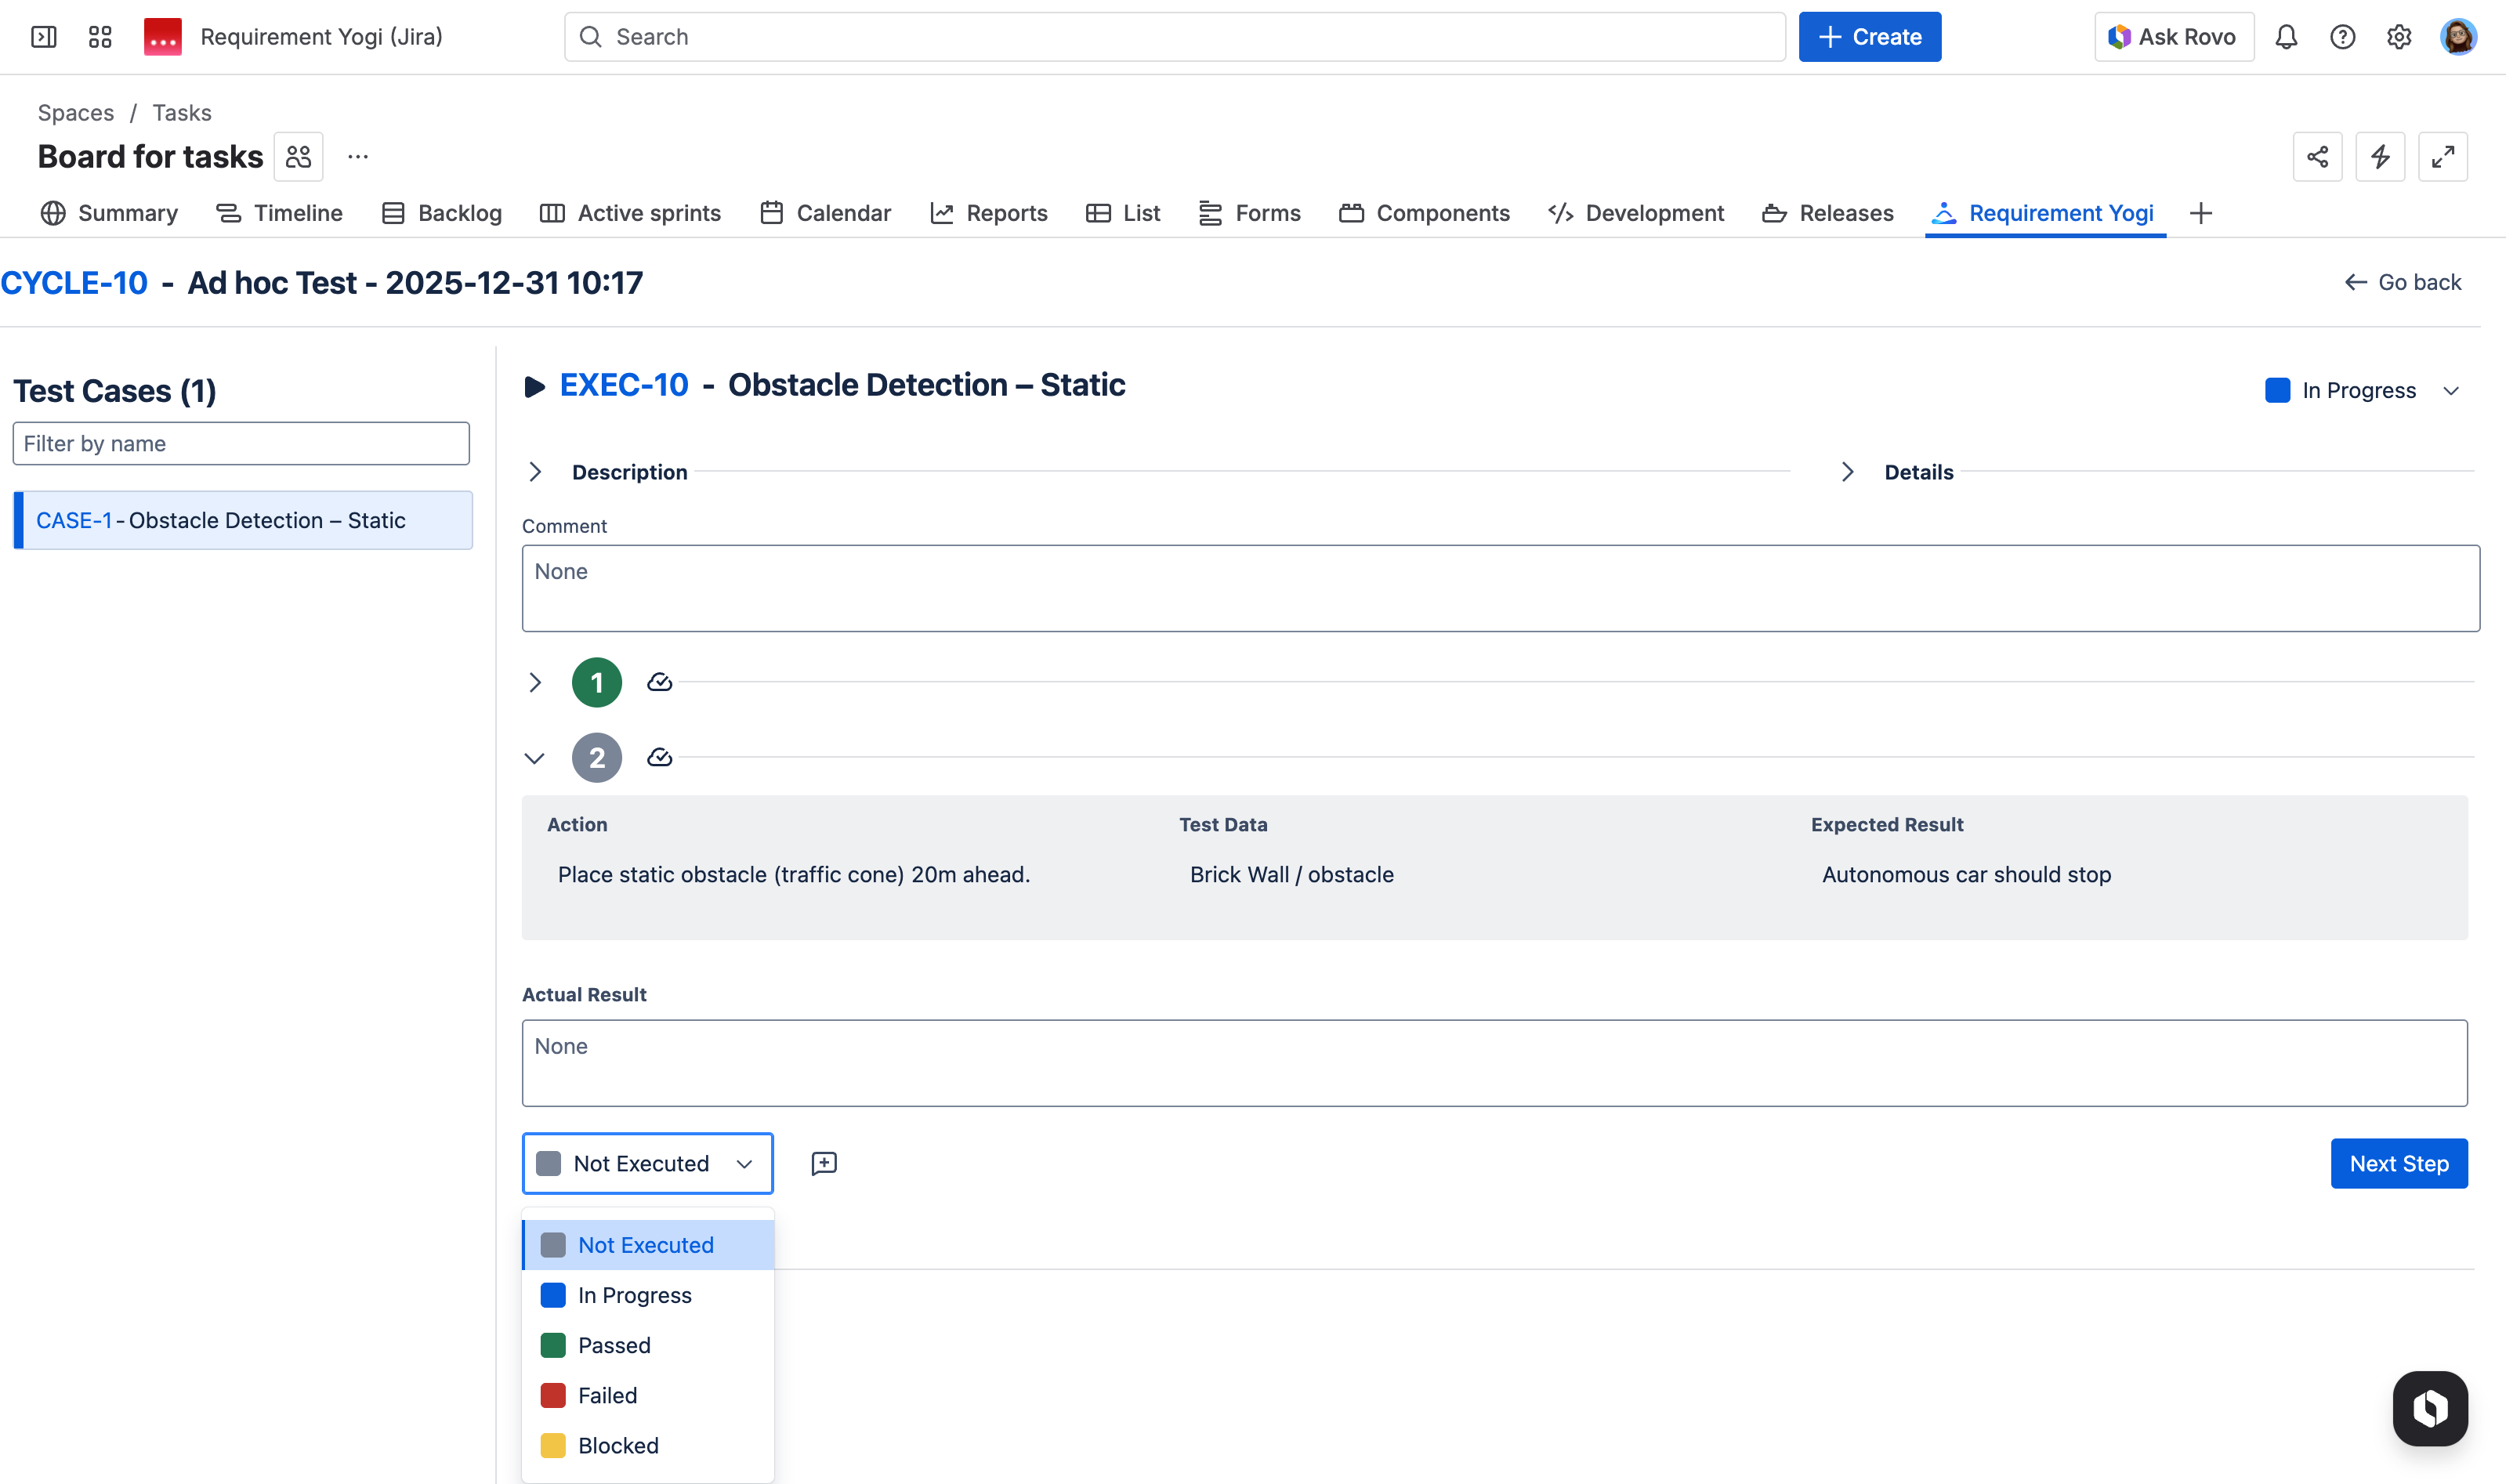
When you execute a test, you can pass each step and fill the actual result field, give comments, validate the status. |
|
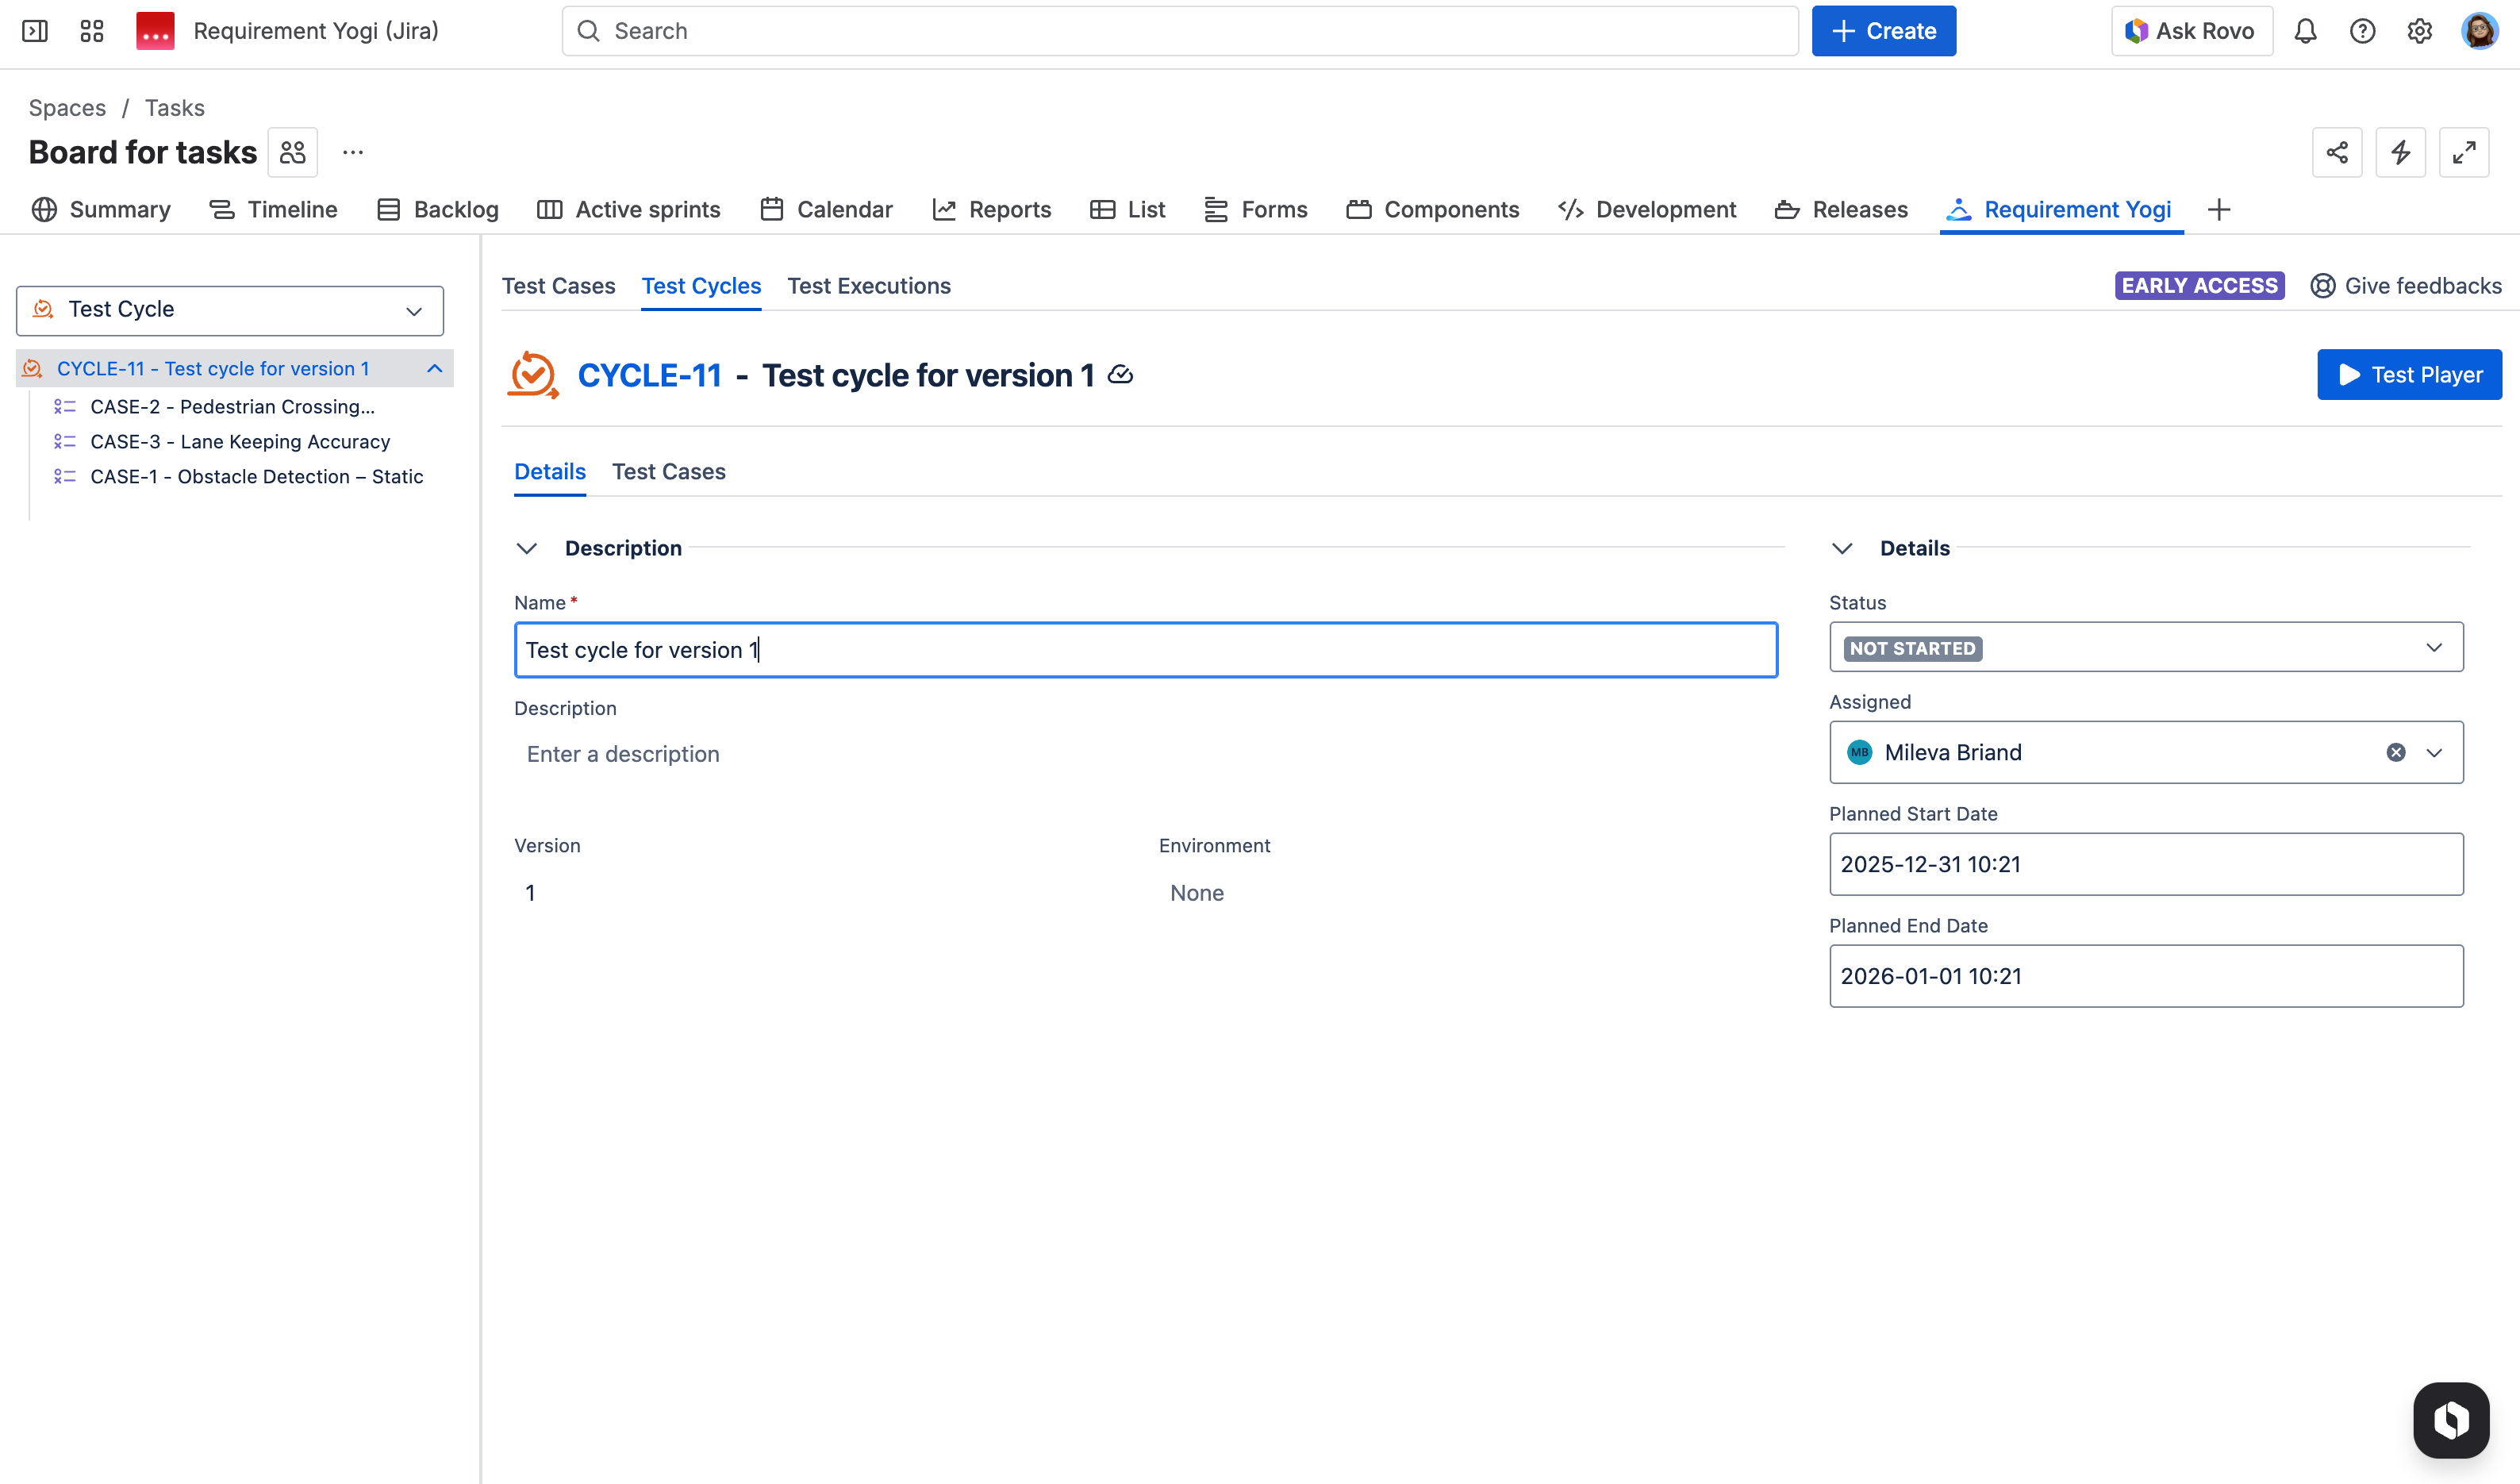
Create a test cycle
Navigate to the tab ‘Test Cycle’ and create a new test cycle. You can fill the version and other fields… Go to the tab 'Test cases’ and link existing test cases.
Administrator’s guide
Lucky for you, there is nothing to administrate!
All permissions are based on Jira permissions.
More updates in the coming weeks…
These are the very first steps to our Testing app, more feature will be coming shortly. Please share your feedback with us on the support: https://support.requirementyogi.com/ .